Roof leather has a hard time in some countries. Leaves and rainwater simply lie on flat roofs during autumn and winter and even in summer, the bright sun causes the roof leather to dry out. To prevent leaks, it is wise to replace the roof leather every 30 years. In this article you can read more about the cost of replacing roofing leather, the method and tips for replacing the roofing leather..
Roof leather, or bitumen roof covering, is one of the cheapest types of roof covering. This is because the material is relatively inexpensive and the new layer of roofing is easy to lay. With roof leather you can also have the choice to place a new layer of roof covering over the old one.
Advantages of roof leather over old roof covering
Cheaper: Applying new roofing over the old layer is cheaper than removing the old one first. The replacement can be done faster, saving you on the hourly wage.
Extra insulation: Because the old roof leather stays in place, this provides extra insulation.
How to replace roofing leather?
This type of flat roof repair in Overland Park can only take places when the roof construction is dry and the thermometer indicates a minimum of 5℃. This way, the new layer of roof leather sticks well to the old layer. If the old layer is too damaged to serve as an underlay, you first removes it. Roofing leather can be installed as follows:
Step 1 – The bottom layer:
Before applying the bitumen layer, the roof first gets a bottom layer. This layer provides a completely waterproof roof. Then you should start by gluing the underlay to the roof edge. If the roof edges are covered with the bottom layer, the roof surface is covered. The bottom layer on the roof surface is also glued.
You must maintain an overlap of 10 cm on average. This means that each roll of roof leather is 10 cm over the adjacent roll. If the entire roof is covered with the underlayment, then you can fix the underlayment in a zigzag pattern. You have to glue the seams for a watertight seal.
Step 2 – Roof trim:
After the roof is covered with the bottom layer, the roof trim is placed. The roof trim ensures a nice finish of the eaves.
Step 3 – The top layer:
Then place the roof leather in the same direction as the bottom layer. Here too, the roofer has an overlap of 10 cm. You have to use a burner to apply the roof leather.
Burning the roof leather :
You have to heat the roll by means of a propane burner, so that the roof leather sticks. Then you have to unroll the heated roof leather and rolls up the roof covering. The roof thus receives a watertight seal. Are you planning to lay the roof covering on the flat roof itself? Note that heating roof leather is very dangerous and difficult. The roof leather may not be burned.
Step 4 – Roof leather over the roof trims:
For a complete closure, you have to place the roof leather over the previously installed roof trims. The roofer uses a special kit for this.
Lifespan of roof leather:
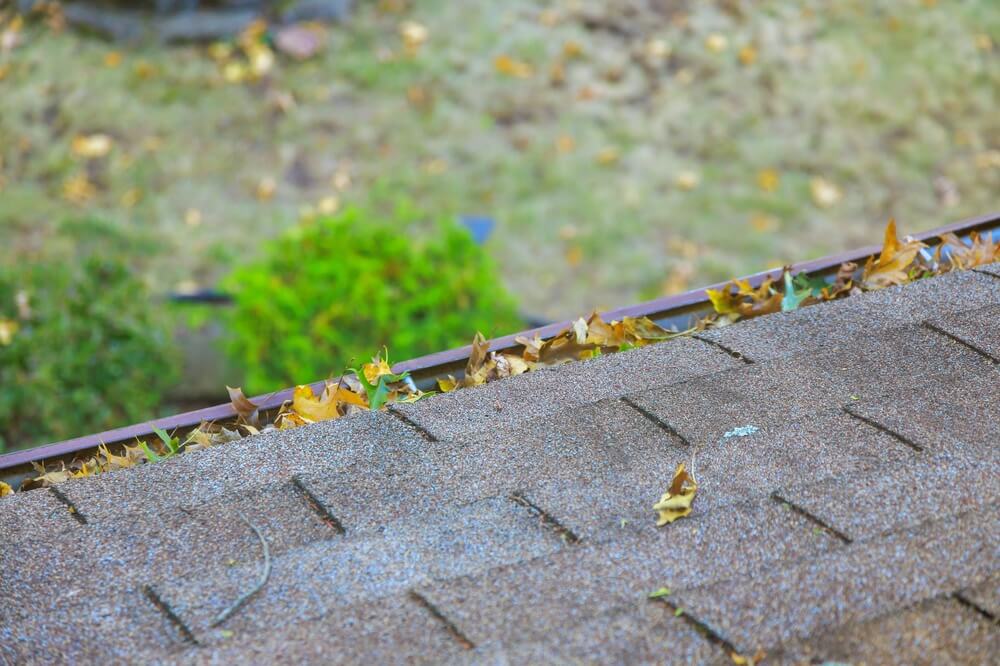
Roof leather has an average lifespan of 30 years. It is even possible that roof leather remains waterproof for up to 55 years. Factors such as sunlight and weather conditions have a major impact on the lifespan of roof leather. The rainwater, and possibly leaves and branches, remain on the roof. In addition, UV rays and temperature fluctuations cause the roof leather to dry out over the years.