• Understand the causes and risks of attic ice dams in winter, ensuring your roof stays damage-free.
• Learn effective preventative measures to stop ice dam formation, from insulation to proper ventilation.
• Discover why professional roof care is your best option for long-term protection against ice dams.
Recognizing the Warning Signs of Attic Ice Dams
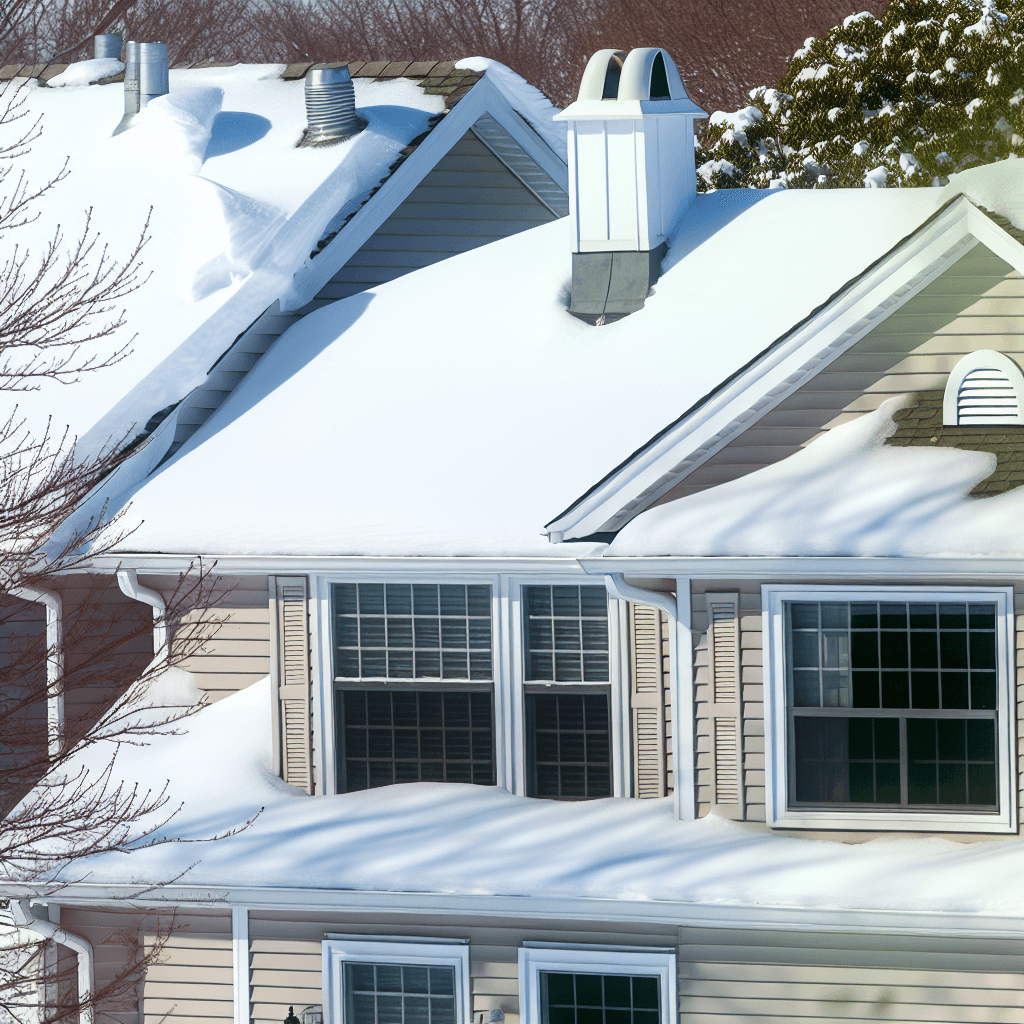
As the winter blankets Overland Park, KS with its chilly embrace, the roofs of our homes become vulnerable to a hidden menace known as attic ice dams. These frosty intruders can cause severe damage to both the exterior and interior of your home if left unchecked. It’s essential to be vigilant and spot the early indicators of ice dam formation; this includes icicles along the edge of your roof, water stains on your ceilings, or the ominous sound of dripping water in the attic. These signs suggest that a cycle of freezing and thawing is occurring on your rooftop, hinting at inadequate attic insulation and ventilation.
Conducting a thorough attic inspection during the colder months should be a routine practice for homeowners. When you peek into your attic space, pay close attention to the appearance of frost or moisture on the rafters, which can signal heat loss and potential for ice dam development. Look out, too, for light shining through cracks or holes, as these are pathways for precious warm air to escape, only to freeze and form an ice barrier later. Ensuring that these gaps are identified early allows for timely sealing and contributes significantly to preventing attic ice dams.
Sealing air leaks is a crucial next step in fortifying your home against the cold. Begin with the common culprits: gaps around lighting fixtures, pipes, and chimneys that act as gateways for warm air to flow into the attic. Employing caulk or expandable foam to fill these smaller breaches and applying insulation in larger areas will significantly reduce heat loss. By taking these measures, you’re not just preventing potential water damage; you’re also enhancing the energy efficiency of your living space, ensuring a cozier winter indoors.
Strengthening Your Defense with Quality Insulation
After addressing the leaks, a critical step towards preventing attic ice dams is evaluating and bolstering your attic’s insulation. Proper insulation acts as a barrier, keeping the warmth where it belongs – inside your living quarters and away from the roof. The U.S. Department of Energy recommends insulation levels of R-49 to R-60 for Kansas climates, so check your current insulation’s R-value and upgrade if necessary. By enhancing your attic floor’s insulation with the right materials, you take a proactive approach in maintaining a vital temperature balance that can withstand the harsh winter weather.
What’s more, efficient insulation contributes to more than just preventing ice dam formation; it helps in reducing the energy expenditure of your home, saving you a considerable amount on utility bills. When adding insulation, pay special attention to spaces around eaves, plumbing, ductwork, and other places where air is prone to slipping through. Suppose you’re unsure about the specific materials or methods best suited for your home; in that case, professional guidance from a trusted local service can make all the difference. With their expertise, you can ensure that your attic insulation is installed effectively and meets the recommended standards for your region.
Regulating Temperatures with Adequate Ventilation
Insulation alone isn’t enough to combat the formation of attic ice dams; a well-ventilated attic space is equally critical in preventing ice buildup. Proper airflow allows the cold air to circulate under the roof, maintaining a temperature that minimizes the risk of snow melting and refreezing at the eaves. In Overland Park’s brisk winter, it is vital to check that all existing vents are clear of obstruction, and if your attic’s ventilation is inadequate, adding more vents is a practical solution. This adjustment in airflow can prevent the costly cycle of ice accumulation and water damage that plagues many homes with poor attic ventilation.
For homeowners, understanding the dynamics of attic climate control can sound daunting, but it’s essential for the structural integrity of your roof during the winter months. Be on the lookout for signs like wet insulation or rusting nails, which indicate moisture buildup from poor ventilation. If your own inspection leaves you uncertain, seeking the assistance of a professional who specializes in attic care and roof maintenance can provide peace of mind. An expert’s assessment will not only help in preventing attic ice dams but will also extend the lifespan of your roofing system, ensuring it remains robust throughout the seasons.
Step 1: Inspect Your Attic
Begin by examining the inside of your attic to ensure proper ventilation exists. Look for obvious air leaks, signs of moisture, or frost that may have formed on the underside of the roof.
Step 2: Seal Air Leaks
Locate and seal any sources of warm air entering the attic from the house. This includes gaps around light fixtures, pipes, and chimneys. Use caulk or expandable foam for smaller gaps and insulation for larger areas.
Step 3: Enhance Attic Insulation
Add additional insulation to your attic floor, especially if it is below the recommended level for Overland Park, KS. This helps maintain consistent temperatures and prevents the melting and refreezing cycle that causes ice dams.
Step 4: Improve Attic Ventilation
Ensure that your attic has proper ventilation. Check that vents are not blocked by insulation, and consider adding additional roof or soffit vents if necessary to create a steady flow of cold air under the entire roof.
Step 5: Install Heat Cables
If you’re prone to ice dams, install self-regulating heat cables along the roof’s edge where ice dams typically form. These cables help prevent ice from building up and facilitate proper water drainage from the roof.
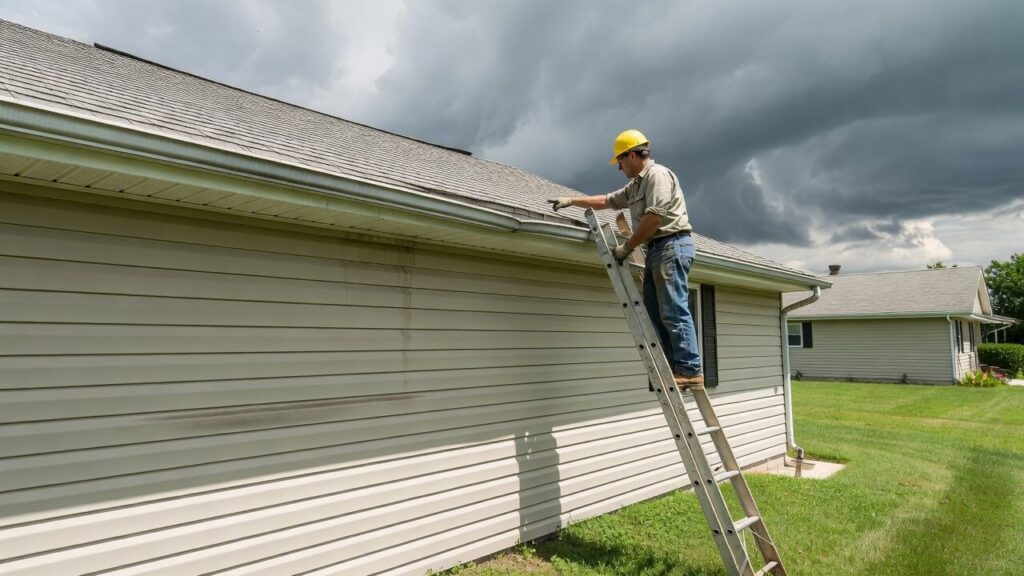
Step 6: Clear Roof and Gutters
Regularly remove snow from your roof using a roof rake and ensure gutters are clean and unobstructed to allow melting water to flow freely.
Step 7: Use Calcium Chloride
In cases of heavy snowfall, you can apply calcium chloride to affected areas of your roof to help melt the ice. Be cautious not to damage your shingles or gutters with the chemical.
Step 8: Conduct Regular Maintenance
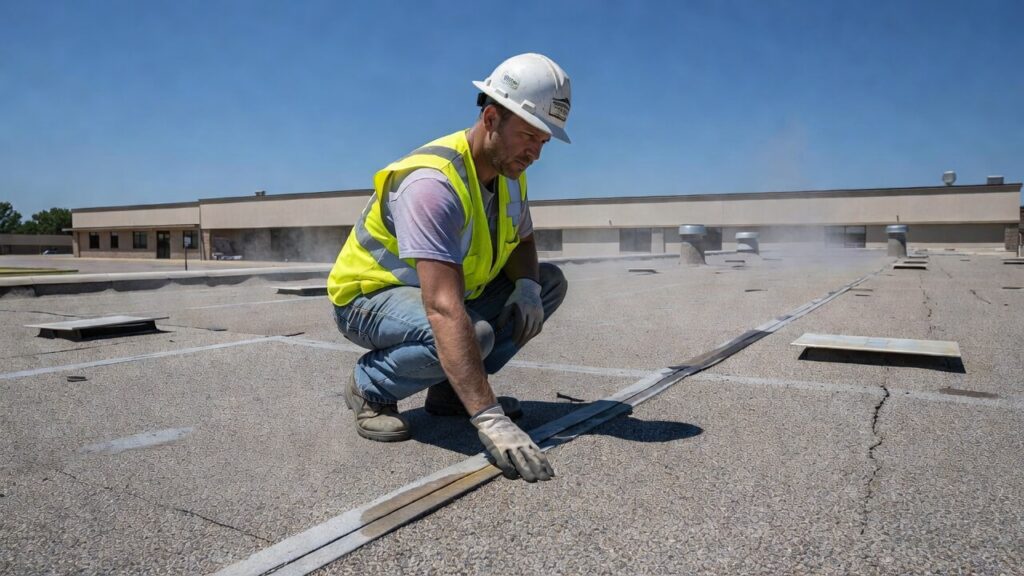
Regularly inspect and maintain your roof to prevent damage. Check for missing shingles, weakness, or rusting that could allow water to enter your home, exacerbating ice dam problems.
Avoiding Common DIY Mistakes in Ice Dam Prevention
Attempting to prevent attic ice dams through do-it-yourself methods can be effective, but it’s crucial to sidestep frequent missteps that could lead to further issues. Without the proper technique, DIY efforts can inadvertently exacerbate problems or create new challenges. From neglecting adequate attic inspections to misapplying preventative materials, understanding what not to do is as important as knowing the correct steps.
- Mistake 1: Insufficient Attic Inspection
– Many people rush the inspection process, leading to oversights that increase the risk of ice dams. To prevent this, take the time to thoroughly examine the attic for signs of air leaks, moisture, or inadequate insulation, and don’t hesitate to seek a professional evaluation if needed. - Mistake 2: Improper Sealing of Air Leaks
– It’s common to underseal or overlook leaks after finding them. Ensure all gaps around fixtures, pipes, and chimneys are sealed with the right materials, such as caulk or foam, to prevent warm air from melting snow on the roof. - Mistake 3: Skimping on Insulation
– Failing to install the recommended level of insulation for Overland Park, KS, is a frequent oversight. Confirm that your attic’s insulation meets local recommendations to maintain a consistent temperature and avoid the freeze-thaw cycle. - Mistake 4: Neglecting Ventilation Systems
– A common error is not checking or updating attic ventilation. Ensure your vents are not obstructed and consider adding more if necessary to maintain proper airflow and roof temperature. - Mistake 5: Incorrect Installation of Heat Cables
– DIY installation of heat cables can lead to ineffective ice prevention if not done correctly. Follow the manufacturer’s instructions carefully or opt for professional installation to maximize efficacy. - Mistake 6: Inadequate Roof and Gutter Upkeep
– Overlooking the need to regularly clear snow from the roof and keep gutters clean can lead to ice build-up. Use a roof rake to remove snow and maintain clean gutters to prevent water backing up and freezing on the eaves. - Mistake 7: Overusing Calcium Chloride
– While it melts ice quickly, too much calcium chloride can damage roofing materials and plants. Use this chemical sparingly and only as needed, following safety instructions to protect your property. - Mistake 8: Sporadic Maintenance Check-ups
– Infrequent or irregular roof maintenance overlooks early signs of potential damage that can lead to ice dams. Schedule regular inspections and address any wear, tear, or rust promptly to minimize the risk of ice dam formation.
Proactive Measures: Heat Cables and Snow Removal
With the core defenses like insulation and ventilation in place, it’s prudent to consider supplementary measures like installing heat cables along your roof’s edges. These cables create a path for the melted snow to flow off the roof, preventing water from refreezing into ice dams. Especially in areas prone to heavy snowfall, such as Overland Park, KS, heat cables can be a game-changer in safeguarding your roof throughout winter.
Another essential tactic in your anti-ice dam arsenal is the regular removal of snow from your roof. A roof rake can safely clear snow from the shingles without the need to climb onto a slippery roof. Moreover, keeping gutters and downspouts free from debris ensures that melted snow has a clear escape route, further reducing the risk of ice dams forming at the eaves.
Seasonal Strategies: Calcium Chloride and Ongoing Maintenance
When a heavy snowstorm hits, a short-term solution to address the buildup of snow and ice is the application of calcium chloride. This substance can help melt existing ice quickly, preventing the weight and water damage associated with ice dams. However, it’s critical to use it cautiously to avoid any potential harm to your roofing materials or plant life below.
Consistent upkeep is the final step in ensuring a dam-free attic. Regular inspections and maintenance will catch any early signs of wear and tear that could invite ice dam issues. For comprehensive care, consider professional gutter installation and roof assessment to complement your efforts in ice dam prevention.