• DIY Roof Ventilation Tips: Learn to improve airflow and extend the life of your roof.
• Step-by-Step Guide: Simple instructions for homeowners to ensure proper roof ventilation.
• Expert Advice: Recommendations for when to seek professional roofing services for optimal results.
Recognizing Red Flags in Roof Ventilation
Roof ventilation might not be the first thing on your mind as a homeowner, but it holds a key role in the health and efficiency of your home. Proper ventilation extends the life of your roof by preventing heat and moisture buildup that can lead to costly repairs. If you start noticing that your top floor is excessively warm in the summer or cold in the winter, it could signal poor air flow. Additionally, unaddressed ventilation issues can lead to higher energy bills, as your heating and cooling systems work overtime to compensate.
Signs of an Inadequate Ventilation System
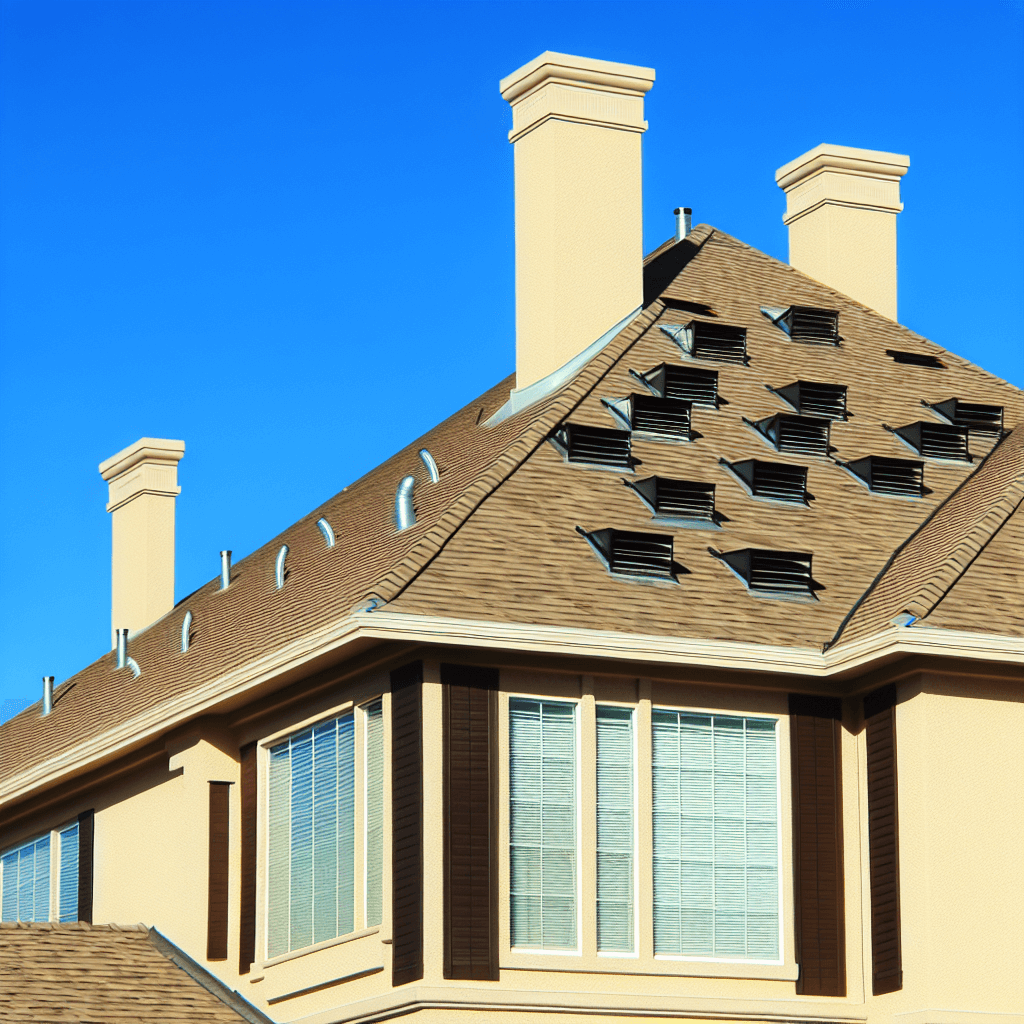
The signs of inadequate roof ventilation are often subtle but significant. One clear indicator is the presence of moisture or mold in your attic space, which suggests air isn’t circulating as it should be. You might also observe signs of dampness or rust around roof nails and hardware which can deteriorate the structural integrity of your roof over time.
Measuring the Impact
The consequences of poor ventilation aren’t limited to roof health; they can impact your entire home environment. When warm, moist air is trapped in the attic, it can lead to the formation of ice dams during Denver’s chilly springs, causing potential water damage. Beyond the attic, if there’s a pattern of peeling exterior paint or degraded roof decking, these too can point to ventilation concerns. Recognizing these signs is the first step towards taking proactive measures to safeguard your residence.
Embarking on Ventilation Improvement
If you’ve spotted signs of poor ventilation within your home, it’s time for a deeper dive. Begin by assessing your home’s existing ventilation system; a well-ventilated roof should have vents at both the soffits and ridge to promote airflow. Without proper ventilation, moisture can accumulate leading to rot and structural damage that could be costly to repair. For those in need of expert guidance, Shamrock Roofing’s roof replacement services provide comprehensive support to ensure your home’s roofing system is optimized for efficiency.
Strategizing for Efficient Ventilation
A thorough inspection of your attic will reveal the overall health of your roof ventilation and can prevent future damage. Measure the square footage of your attic to determine if you have the recommended amount of vent space, with a general rule being 1 square foot of vent for every 150 square feet of attic space. If the correct ratio isn’t met, consider adding additional vents to balance the system. Remember, effective ventilation is a key defense against the diverse weather patterns of Denver, CO, protecting your home from within and contributing to a comfortable living environment.
Step 1: Understand the Basics of Roof Ventilation
Learn about the importance of proper residential roof ventilation, why it’s crucial for the longevity of your roof, and how it can impact energy efficiency in your home.
Step 2: Assess Your Current Ventilation System
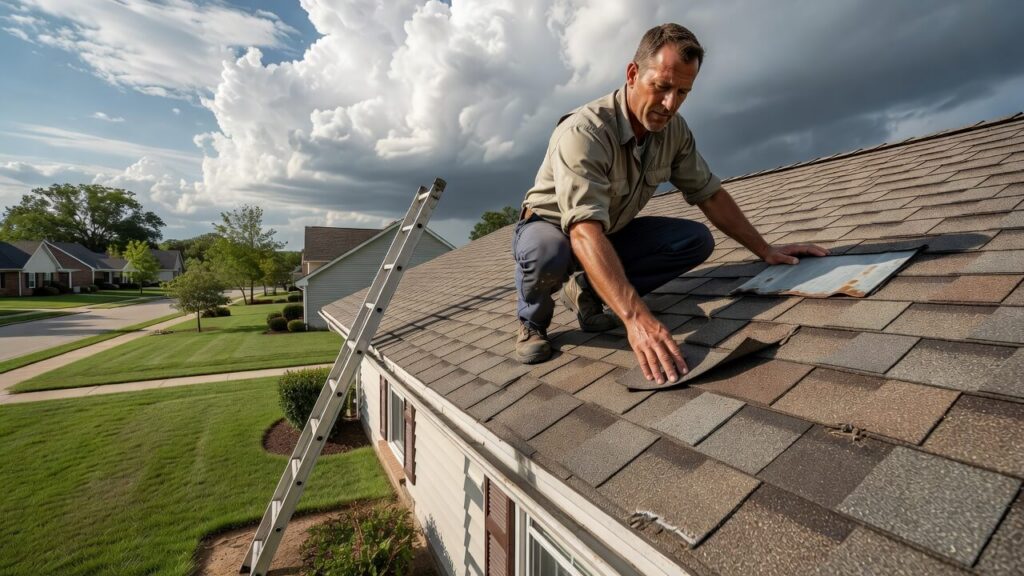
Examine your attic and roof to identify the type and number of vents you already have. Look for any signs of poor ventilation, such as moisture, mold, or uneven temperatures.
Step 3: Calculate Your Ventilation Needs
Determine how much ventilation your roof needs based on your attic’s square footage. The general rule is 1 square foot of vent area for every 150 square feet of attic space.
Step 4: Choose the Right Vents for Your Home
Research different types of vents – ridge, soffit, gable, and powered vents. Select the ones that best suit your roof’s design and your region’s climate, especially for springtime in Denver, CO.
Step 5: Create a Balanced Ventilation System
Balance the intake and exhaust ventilation in your attic by ensuring there’s an equal amount of air coming in and going out, which prevents moisture buildup and regulates temperature.
Step 6: Install Additional Vents if Necessary
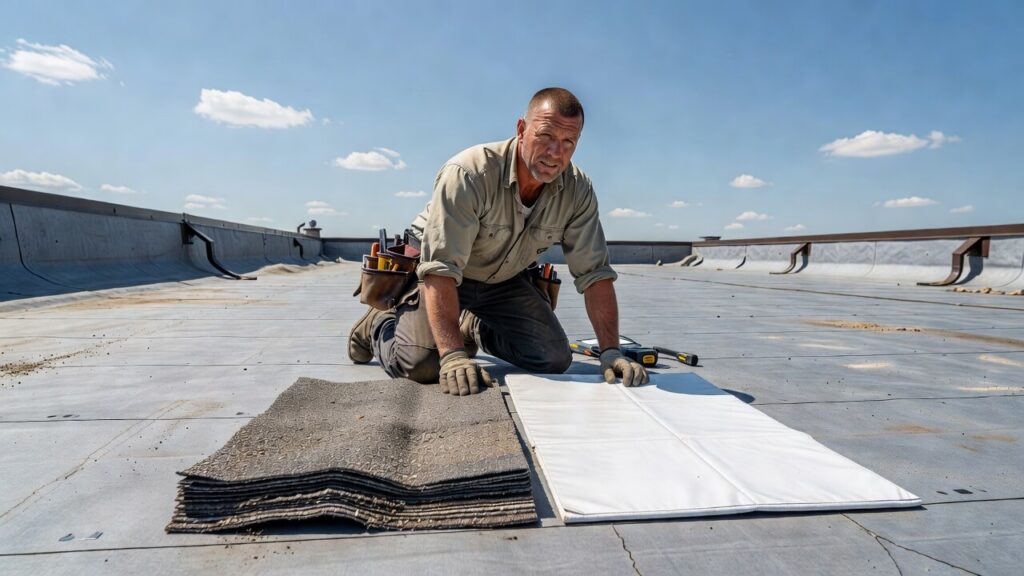
If your current system is inadequate, install new vents. Always follow local building codes and manufacturer instructions, or consider hiring a professional roofer for best results.
Step 7: Insulate and Seal Your Attic
Proper insulation and sealing of attic floor penetrations can enhance your ventilation efforts by preventing heat transfer and air leaks, which saves on energy costs.
Step 8: Regular Maintenance and Inspections
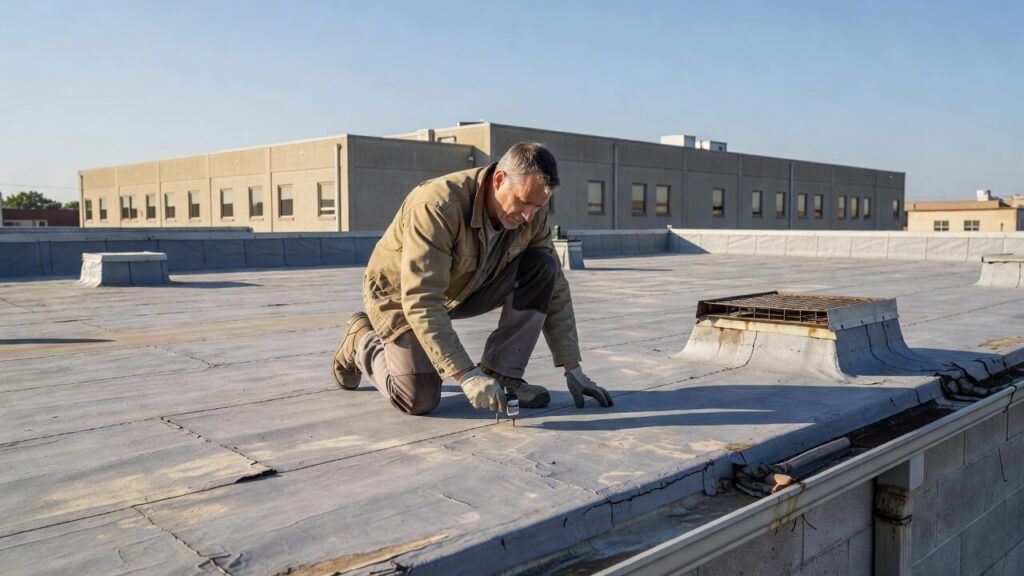
Regularly inspect your roof and ventilation system for any blockages, damage, or wear and tear. Maintenance is key to ensuring the effectiveness of your residential roof ventilation.
Steering Clear of Ventilation Missteps
Ventilating your home’s roof properly is not just a set-and-forget task; it’s an ongoing commitment to your house’s wellbeing. As many embark on the DIY journey to enhance residential roof ventilation, certain pitfalls can lead to less than optimal outcomes. From neglecting balanced airflow to incorrect vent choices, these are mistakes that can negate all the hard work put into safeguarding your home’s rooftop sanctuary.
Common Mistake 1: Ignoring Vent Balance
Many homeowners focus solely on adding more vents, neglecting the crucial balance between intake and exhaust features. This can cause a pressure imbalance, making some vents pull in air while others push it out, leading to poor airflow. To prevent this, ensure you’re pairing your intake vents, usually located at the soffits, with exhaust vents at the ridge or gable ends.
Common Mistake 2: Skimping on Vent Quantity
Following the standard rule of 1 square foot of vent area per 150 square feet of attic space is another critical point often overlooked. Under-ventilating leads to moisture issues and heat buildup, which can degrade your roof over time. Measure your attic carefully and install the correct number of vents to meet the area’s requirements.
Common Mistake 3: Misjudging Vent Types
Selecting the wrong type of vents for your home’s architectural design is a common error. Not all vent types are created equal, and some are better suited for certain climates and roof designs than others. Research thoroughly or consult with a professional to get the most suitable vent type for your roof, particularly one that suits Denver’s spring weather.
Common Mistake 4: Overlooking Local Building Codes
DIY enthusiasts sometimes proceed without checking local building codes, which can result in noncompliance and future legal troubles. These codes are in place to ensure safety and effectiveness, so review them before installing new vents or making other modifications. Better yet, consider hiring a seasoned professional to handle the installation, ensuring all work is up to code.
Installing for Optimal Airflow
With your ventilation needs calculated, it’s time to select the right types of vents for your Denver home. The diversity in vent types, from ridge to soffit to gable vents, allows for a customized approach to each unique roofing system. Should the selection process become overwhelming, Shamrock Roofing’s experts can assist you in making the best choices for your home, ensuring seamless integration and functionality.
Maintaining Your Ventilation System
Once your chosen vents are installed, regular maintenance is crucial to maintain a robust ventilation system. Inspection for blockages or damages should be part of your routine home maintenance, especially after the diverse weather conditions that spring in Denver can bring. For specialized maintenance services, consider reaching out to Shamrock Roofing, where quality and expertise meet to keep your home’s exterior in top condition.