• Understanding winter roof ventilation: Learn why proper ventilation is crucial to protect your roof during the cold months.
• Preventing damage: Steps to ensure your roof is well-equipped to handle snow build-up and ice dams.
• Professional insights: Exploring the benefits of expert solutions for long-term roof maintenance and protection.
Recognizing Ventilation Issues in Winter
As the brisk air of winter settles over Denver, CO, the health of your roof hinges significantly on a factor that’s often overlooked: ventilation. Proper ventilation is the silent guardian against moisture and temperature imbalances, symptoms which, if ignored, can lead to costly roof repairs or replacements. A well-ventilated roof is your home’s frontline defense against the formation of ice dams, those thick ridges of solid ice that can wreak havoc on eaves and cause water to back up into your house.
Inspect Before the Snow Settles
Before the season’s first snowfall blankets your home, it’s crucial to inspect your attic’s current ventilation system. Classically overlooked signs like frost on nail tips, a musty attic smell, or visible mold signify that your roof may not be breathing properly. Blocked vents or inadequate airflow not only compromise the integrity of your roof but can also exacerbate damage from Denver’s heavy snow and ice.
Calculate to Cultivate a Healthy Roof
Understanding the needs of your roof’s ventilation isn’t based on guesswork but on precise, industry-standard calculations. Determining the right amount of ventilation involves measurement and math catered to your specific roof size and attic volume in order to maintain a balanced system. Armed with this knowledge, you can ensure that your roof can effectively combat the challenges posed by a frosty Denver winter.
Choosing the Right Ventilation for Your Roof
Ventilation is not a one-size-fits-all solution, particularly when gearing up for the wintry assaults common to Denver. It’s essential to select vents that are tailor-made for your roofing structure, ensuring not only the ebb and flow of air but also the expulsion of moisture that can accumulate during these colder months. Roof vents such as soffit and ridge options are far more than mere installations—they are the silent workhorses that prevent the detrimental effects of trapped winter air.
Sealing and Insulating: The Unseen Protectors
Equally vital to the ventilation process is ensuring that your attic is sealed and insulated against the cold. Even the smallest of gaps can invite winter’s chill into your home, where it will condensate and potentially damage interior structures. This preventative action shields your home from lofty energy bills and the incremental damage from ice buildup, which is why it’s recommended to consult experts like Shamrock Roofing for a comprehensive assessment.
Step 1: Understand the Importance of Winter Roof Ventilation
Discover why proper ventilation is crucial for your roof’s health during the cold winter months in Denver, CO. Learn how it prevents moisture build-up, ice dams, and temperature imbalances that can damage your home.
Step 2: Inspect Your Current Ventilation System
Examine your attic’s existing ventilation to identify any issues or inadequacies. Look for blocked vents, inadequate airflow, and signs of moisture or damage that may affect your roof’s winter performance.
Step 3: Calculate Your Ventilation Needs
Use industry-standard calculations to determine the right amount of ventilation for your roof size and attic space, ensuring a balanced system that can withstand a cold Denver winter.
Step 4: Choose the Right Vents for Your Home
Select the most effective types of vents for your specific roofing structure. Include options such as soffit vents, ridge vents, and gable vents that suit your home’s design and climate conditions.
Step 5: Seal and Insulate Attic Bypasses
Identify and seal any air leakages in your attic to maintain proper insulation levels. This step helps prevent warm, moist air from reaching the cold roof and forming condensation or ice dams.
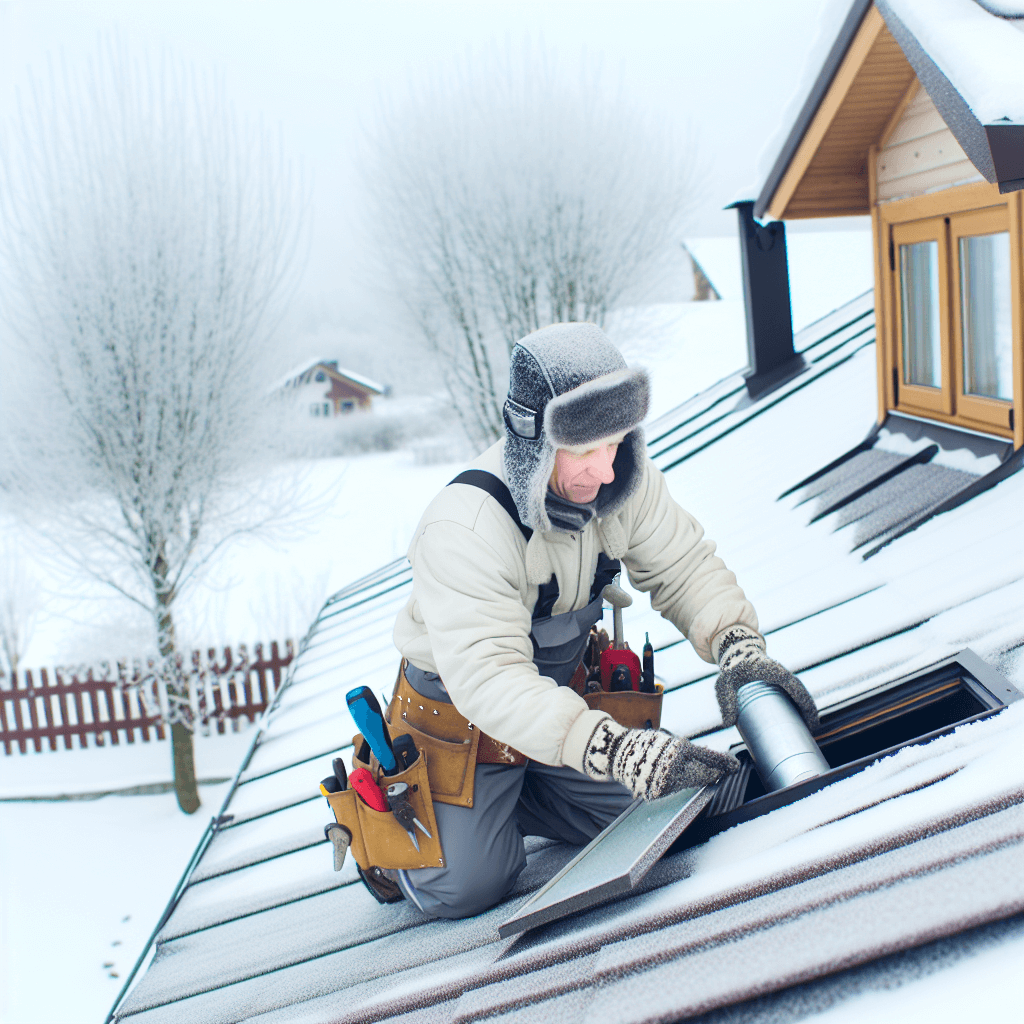
Step 6: Install or Upgrade Ventilation Features
If necessary, add new vents or upgrade existing ones to improve airflow. This may entail cutting new openings and installing vent covers that are designed to work efficiently in winter conditions.
Step 7: Monitor Ventilation and Roof Health
Regularly check your attic and roof for signs of moisture, mold, or ice dam formation. Adjust your ventilation as needed to safeguard your roof through Denver’s winter season.
Step 8: Conduct Professional Maintenance and Assessments
Schedule a post-winter inspection with a professional like Shamrock Roofing to evaluate your roof and ventilation system’s performance. Any identified issues can be addressed promptly to ensure the longevity of your roof.
Common Mistakes to Avoid in Winter Roof Ventilation
Ventilating your roof during winter is crucial, but it’s easy to make mistakes that can compromise your home’s warmth and structure. Without proper knowledge, homeowners may inadvertently cause more harm than good, leading to larger and more expensive problems down the line. To ensure you reap the full benefits of winter roof ventilation, be aware of these common missteps and how to avoid them.
Mistake 1: Ignoring the Signs of Poor Ventilation
Many homeowners may not recognize the early warnings of inadequate ventilation, such as increased energy costs or the presence of ice dams. Stay vigilant and periodically inspect your attic to catch these indicators early.
Mistake 2: Inadequate Insulation and Sealing
Failure to properly insulate and seal your attic can lead to heat loss, ice dam formation, and moisture issues. Ensure your insulation is intact and air leaks are sealed to keep the warm air in and the cold air out.
Mistake 3: Overlooking Vent Blockages
Snow and debris can block vents, leading to reduced airflow and moisture problems. Regularly check and clear your vents to maintain a steady flow of air throughout the colder months.
Mistake 4: Miscalculating Ventilation Needs
It’s critical to use industry standards when calculating the necessary ventilation for your roof and attic space. Overestimating or underestimating can lead to severe temperature imbalances and moisture issues, so ensure calculations are correct.
Mistake 5: Choosing the Wrong Type of Vents
Not all vents are suitable for every home. Select vents, such as soffit, ridge, or gable ones, that best match your home’s design and the local climate of Denver to achieve optimal ventilation efficiency.
Mistake 6: Neglecting Regular Maintenance
Skipping regular maintenance checks can result in unnoticed damage and escalating problems. Scheduling periodic evaluations with professionals, like those at Shamrock Roofing, can save you from unexpected repair costs and ensure that your ventilation system remains effective all winter.
Monitoring and Maintaining Roof Health
Monitoring your roof’s health throughout the winter is not just a preventative measure, but a necessity. Regular checks can reveal early signs of moisture buildup or insulation failure before they lead to larger, more expensive problems. A healthy, well-ventilated roof is key to reducing energy costs and extending the lifespan of your roofing materials during the cold season.
Professional Assessments for Lasting Durability
A professional inspection can offer peace of mind and the assurance that your ventilation system is performing optimally. Experts like Shamrock Roofing have the know-how to spot subtle issues that might escape the untrained eye. To ensure the longevity and durability of your roofing investment, consider scheduling a thorough post-winter evaluation with seasoned professionals.