• Understanding Siding Oxidation: Gain insight into how siding oxidation occurs, its telltale signs, and why it’s a concern for homeowners.
• Prevention Strategies: Discover practical steps to prevent siding oxidation, including regular maintenance and protective measures to keep your siding looking new.
• Professional Remediation: Learn when it’s time to call in the experts for siding repair or replacement, and how professional services can ensure the longevity and aesthetic appeal of your home’s exterior.
Understanding Siding Oxidation
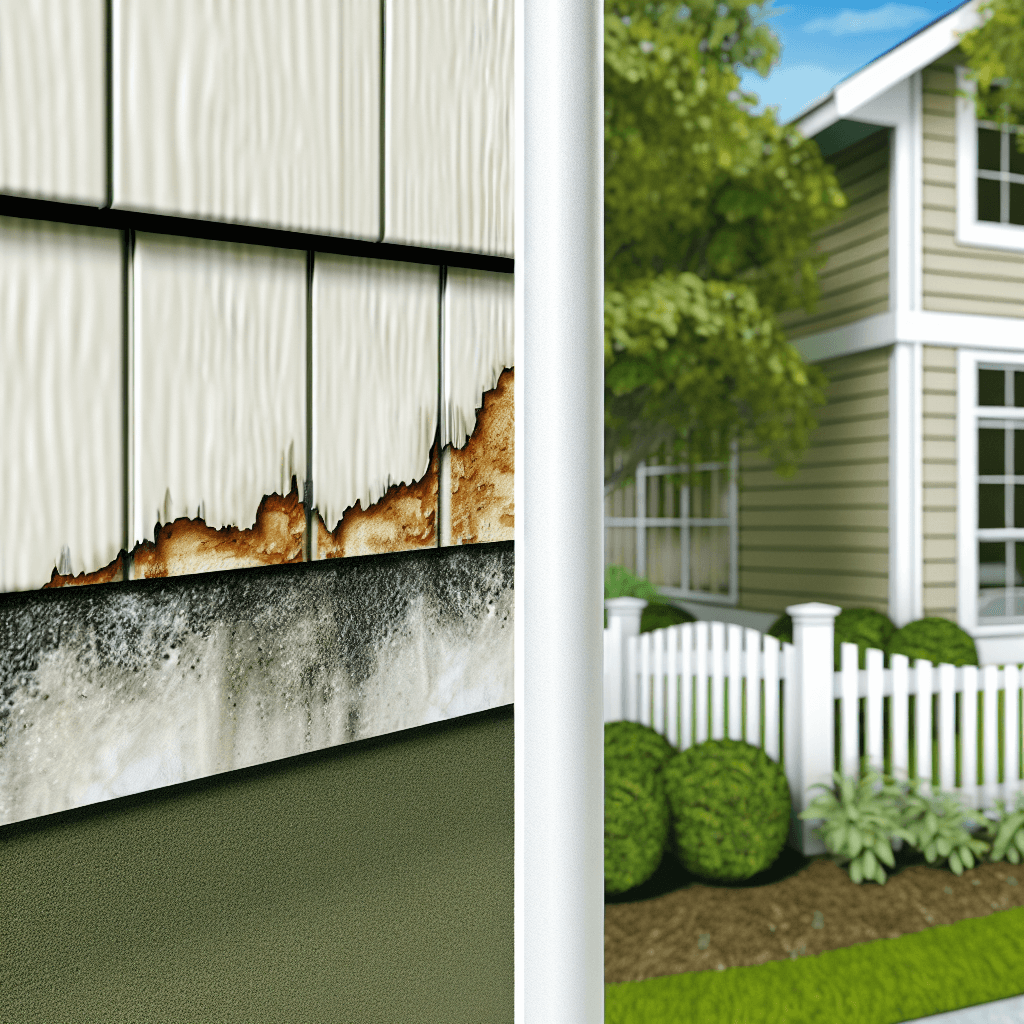
When it comes to siding upkeep, one of the more deceptive adversaries is siding oxidation. This phenomenon often manifests as a chalky residue that handily transfers upon touch, a lament for many Sherman, TX homeowners embracing spring’s charm. Unlike overt damage that shouts for attention, oxidation betrays your home’s exterior through subtle changes in appearance. Hence, vigilance is key, and the first step is spotting those tell-tale faded areas or powdery textures that signal oxidative changes.
Next, a closer examination will often reveal more about the health of your siding. Oxidation tends to leave behind streaks or patches of bleached color, a stark contract against what was once a vibrant palette. Notably, these visual cues primarily emerge in siding that has stood the test of time, bearing the brunt of Texas suns and storms. While a sight for the keen eye, these changes should prompt homeowners to explore their siding condition further, forewarning what might lie beneath.
Before diving headfirst into restorative measures, it’s wise to test the waters on a less conspicuous area. Mixing a simple concoction of soapy water and gently scrubbing with a soft-bristle brush can uncover if the signs of oxidation are merely surface deep. If after this test, the underlying siding appears intact, you’re likely dealing with a superficial issue. Nonetheless, it’s a pivotal step in uncovering the right path to restoring your home’s protective and aesthetic shield.
Strategic Approach to Siding Repair
After identifying the problem areas, it’s essential to assess the damage to determine the right course of action. In cases where oxidation is localized, minor repairs may suffice, allowing for a quick and cost-effective resolution. Sherman residents can reach out to trusted local professionals for an accurate assessment. It’s crucial to consider that the extent of damage might vary, so a personalized approach to siding care is indispensable.
Choosing the right treatment is next – not all cleaners are created equal, and some can do more harm than good. For mild oxidation, a homemade mix of water and vinegar can be an eco-friendly and effective solution. However, more aggressive damage necessitates specialized cleaners that tackle the stubborn symptoms of siding wear without additional harm. Applying the proper solution is a delicate balance between efficacy and maintaining the integrity of your siding, so don’t hesitate to seek guidance if you’re unsure.
Step 1: Identify the Signs of Siding Oxidation
Begin by examining your siding for any chalky residue that comes off when rubbed, discoloration, faded areas, or a powdery texture. These are indicators that oxidation is occurring.
Step 2: Confirm Oxidation with a Closer Look
Take a closer look for streaks or patches that look bleached or have lost their original color. This typically happens on older siding exposed to the elements over time.
Step 3: Clean a Small Area
Gently clean a small, inconspicuous area of your siding with soapy water and a soft-bristle brush. If the surface underneath is unaffected, oxidation might be superficial and manageable.
Step 4: Assess the Extent of Damage
Determine the extent of the oxidation. If it’s localized, you may only need minor repairs. However, widespread oxidation could indicate the need for more comprehensive solutions.
Step 5: Choose the Right Cleaning Agent
For mild cases, a mixture of water and vinegar can be effective. For more severe oxidation, specialized cleaners designed for siding oxidation may be necessary.
Step 6: Apply the Cleaning Solution
Use the chosen cleaning solution to treat the affected areas. Work in sections and use a soft cloth or sponge to apply the cleaner gently to avoid further damage to the siding.
Step 7: Rinse Thoroughly
After cleaning, rinse the siding thoroughly with water to remove any residue from the cleaning agents, as these can cause further oxidation if left on the surface.
Step 8: Protect and Prevent Future Oxidation
Consider applying a protective sealant designed for siding to help prevent future oxidation. Regular maintenance and inspection can also extend the life of your siding and keep it looking its best.
Common DIY Mistakes to Avoid
DIY siding maintenance can be rewarding, but it’s easy to inadvertently damage your home’s exterior if you’re not careful. The key is to approach the task with knowledge and caution, understanding where others have gone wrong before you. By highlighting common pitfalls, we aim to empower Sherman, TX homeowners to tackle siding oxidation with confidence and success.
-
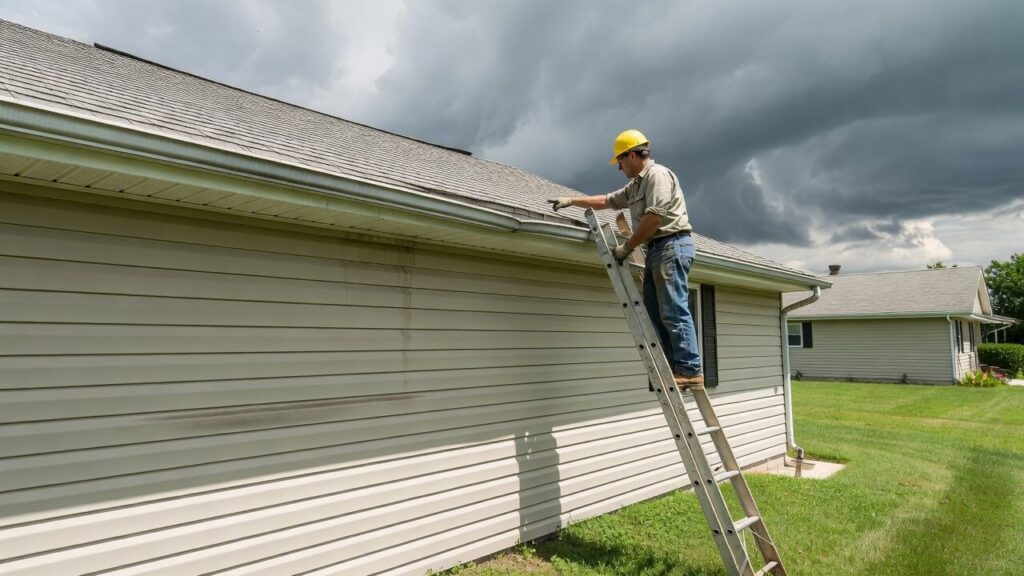
Mistake 1: Overlooking Early Warning Signs
Many homeowners may ignore or miss the initial signs of siding oxidation, such as slight discoloration or a powdery texture. It’s important to regularly inspect your siding, especially the less visible areas, to catch oxidation early on and address it before it becomes more severe. -
Mistake 2: Using Harsh Cleaning Agents
In an attempt to remove oxidation, some may resort to powerful chemicals that can deteriorate the siding material further. Stick to gentle cleaners and methods advised in Step 5, such as water and vinegar solution, and test them on a small section first as recommended in Step 3. -
Mistake 3: Aggressive Scrubbing Techniques
Scouring siding with stiff brushes or abrasive tools can cause scratches and remove more of the siding’s protective layer. Use a soft-bristle brush as suggested in Step 3, and work gently to remove the oxidation without damaging the siding underneath. -
Mistake 4: Inadequate Rinsing After Cleaning
Leaving any cleaning solution residue on the siding can lead to further oxidation. Make sure to thoroughly rinse the siding as detailed in Step 7 to avoid any potential damage from leftover cleaning agents. -
Mistake 5: Neglecting Post-Cleaning Protection
After addressing oxidation, some may think the job is done, but without applying a sealant as suggested in Step 8, the siding remains vulnerable. Ensure you apply the correct protective sealant to help safeguard against future oxidation and extend the lifespan of your siding. -
Mistake 6: Skipping Regular Maintenance
Irregular maintenance schedules can lead to unchecked oxidation and deterioration of siding. Set a routine for inspecting and maintaining your siding, as regular care is crucial to keeping it in optimal condition.
Finalizing the Siding Restoration
After the siding has been meticulously treated with the chosen solution, rinsing it thoroughly is imperative. This step will ensure that no residual cleaning agents, which could potentially cause further oxidation, are left behind. A gentle yet comprehensive stream of water will leave your siding not only clean but also primed for the final protective measures.
Maintaining the integrity and appearance of your siding doesn’t stop after cleaning. A crucial step is the application of a protective sealant to guard against the harsh Sherman environment. For those seeking expert advice on appropriate sealants, Shamrock Roofing’s siding services provide invaluable guidance and assistance, ensuring your efforts today will stand the test of time.