• EPDM roofing works best when the roof is cleaned, inspected, and prepped before the membrane is installed.
• Careful measuring, smooth placement, and sealed seams help protect the roof from leaks and weather damage.
• Knowing the right steps and common mistakes can help property owners make smarter roofing decisions before problems get worse.
Why EPDM Roofing Matters In Fall
When a roof starts to show age, small issues can turn into bigger problems fast. In Lincoln, NE, the fall season can bring cooler nights, rain, and strong winds that put extra stress on flat roofs. That is why the EPDM roofing installation process explained matters for property owners who want a plan before weather gets worse.
EPDM is a rubber roofing system made for low-slope roofs, and it is often chosen for its simple layout and steady performance. When installed the right way, it can help protect a building from moisture and daily weather swings. If you are already seeing wear on your roof, it may be smart to look at our commercial roofing services before minor damage grows.
Waiting too long can make a roof repair more costly and more stressful. Fall is a good time to act because working conditions are often more stable than in winter. A clear plan now can help keep your building ready for the months ahead.
What We Look For Before Installation
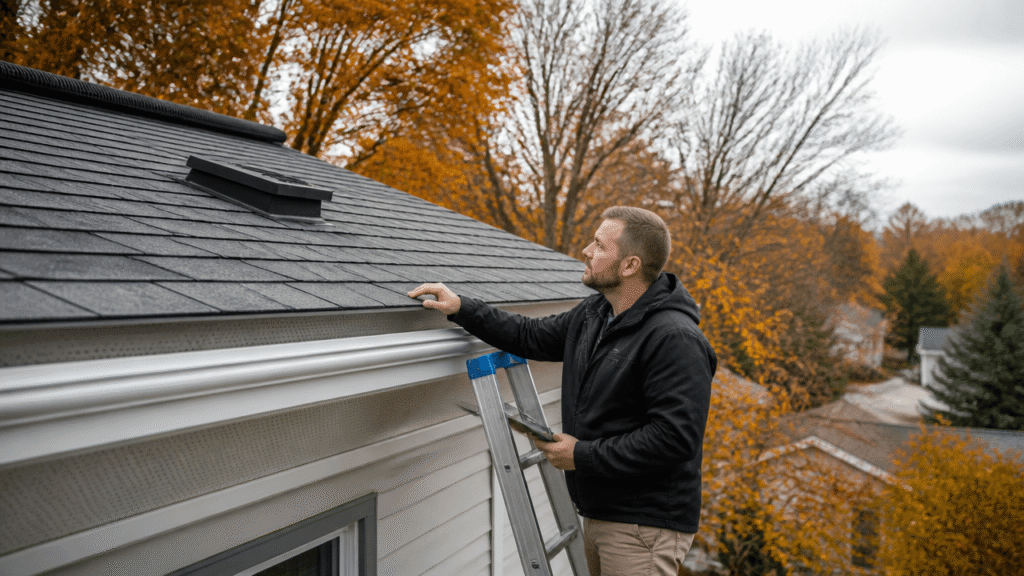
We always start by checking the roof surface, drainage, and any weak spots that need attention first. A clean and sound base helps the new membrane sit flat and perform as it should. If we skip this part, even a good roofing system can run into problems later.
The next part is making sure the insulation and layers below the membrane are lined up correctly. This helps support energy control and gives the roof a better chance of lasting through weather changes. For buildings that need more than a simple patch, our roof replacement services can be the right fit when the roof is too far gone for repair alone.
We also pay close attention to seams, edges, and any spots where water could collect. EPDM works best when those areas are handled with care because flat roofs depend on proper sealing. That is one reason the EPDM roofing installation process explained should always follow a careful order from prep to finish.
Step-By-Step EPDM Roofing Installation
📋 Step 1: Inspect the Roof Surface
We begin by looking at the roof for damage, soft spots, and trapped moisture. This matters because EPDM needs a stable base to perform well over time.
🧹 Step 2: Clean The Roof Deck
Next, we remove dirt, loose material, and anything that could keep the membrane from laying flat. A clean surface helps the roofing layers bond and stay secure.
🔧 Step 3: Check Insulation And Board Placement
We make sure the insulation boards are set correctly and fit tightly together. This step helps support the membrane and reduces the chance of bumps or weak points.
📐 Step 4: Measure And Dry-Fit The Membrane
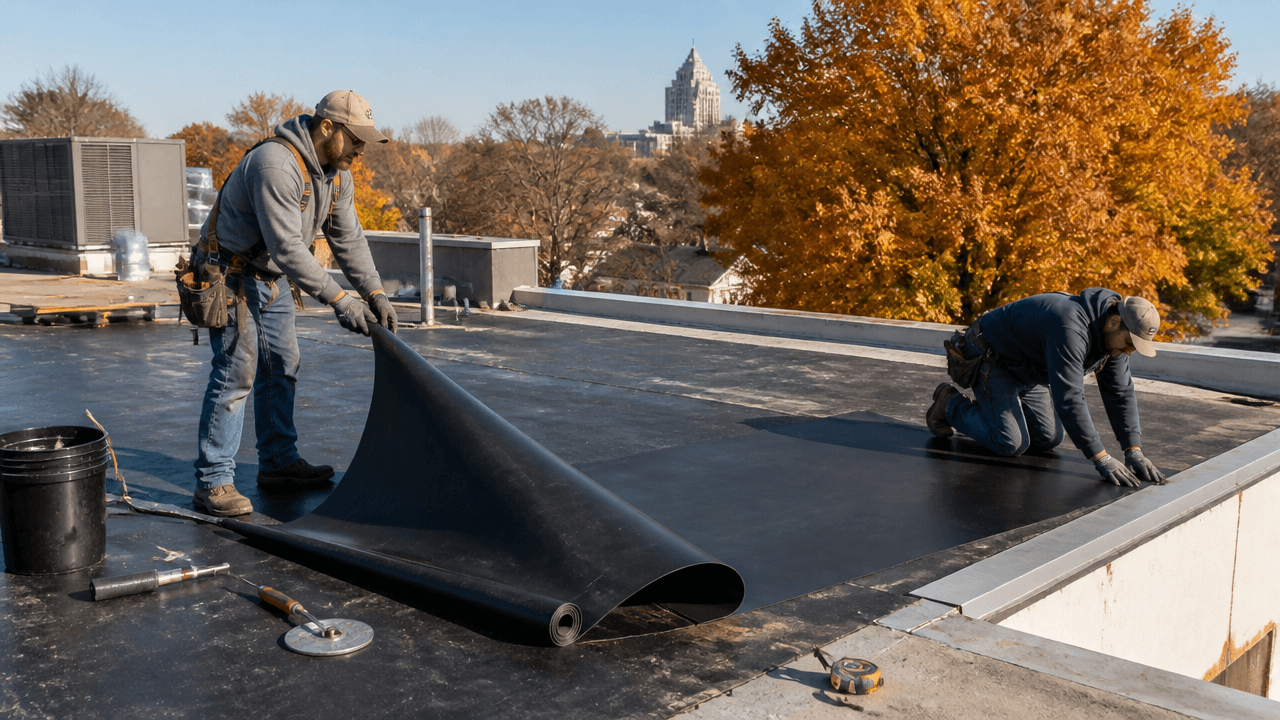
We roll out the EPDM sheet and check that it reaches the edges with proper overlap. Dry-fitting helps avoid cutting mistakes and gives us a chance to adjust before sealing.
🧴 Step 5: Apply The Adhesive
The adhesive is spread in the right areas so the membrane can bond to the roof deck or insulation. This step must be done evenly because weak spots can lead to lifting later.
🧩 Step 6: Set And Smooth The Membrane
We place the membrane carefully and smooth it from the center outward. This helps push out air pockets and keeps the roofing surface tight.
🔒 Step 7: Seal Seams And Edges
After the membrane is in place, we seal all overlaps, corners, and edge areas. These spots are key because they are the most likely places for water to get in.
🌧️ Step 8: Final Check For Water Protection
We finish by checking the roof for missed spots, gaps, and details that need a touch-up. This last look helps make sure the roof is ready for rain and changing fall weather.
Common Mistakes To Avoid
Many DIY roof jobs run into trouble because one small step is rushed or skipped. That is especially true with EPDM, since the system depends on clean prep, accurate fit, and good sealing. The mistakes below are some of the most common reasons a project fails early.
Some problems show up right away, while others may not appear until the next rain or temperature shift. Knowing where people go wrong can save time, money, and stress. It also helps explain why the EPDM roofing installation process explained should be followed in order.
- ⚠️ Mistake 1: Skipping the roof inspection
Some people rush straight into installation without checking the roof deck, drainage, or old damage. This usually happens when they want to save time, but it can trap hidden problems under the new membrane. To prevent it, always inspect the roof first and fix weak spots before moving ahead. - ⚠️ Mistake 2: Leaving dirt on the surface
Dust, debris, and loose material can stop the membrane from sitting flat. This often happens when the surface looks “good enough” at a glance, but small bits can still cause bonding issues. The best fix is to clean the roof carefully before any adhesive or membrane goes down. - ⚠️ Mistake 3: Measuring the membrane wrong
Wrong cuts or poor overlap can create gaps at seams and edges. This mistake often comes from measuring too fast or not dry-fitting the material first. Prevent it by measuring twice, laying the membrane out before final placement, and checking edge coverage. - ⚠️ Mistake 4: Using adhesive unevenly
Too much or too little adhesive can lead to weak bonding or bubbling. People often make this mistake when they spread the product too quickly or do not follow a steady pattern. To avoid it, apply the adhesive evenly and work in sections so the membrane stays secure. - ⚠️ Mistake 5: Ignoring seams and corners
Seams, corners, and edges are easy to overlook, but they are also the most likely places for leaks. This usually happens because the main roof area seems finished, so the small details get rushed. To prevent problems, check every overlap and seal each edge with care before the job is done.
Frequently Asked Questions
What is EPDM roofing used for?
Yes, EPDM roofing is mainly used on low-slope and flat roofs. It is a rubber roofing material that helps protect buildings from rain, wind, and daily wear. Many property owners choose it because it is flexible and works well on larger roof areas.
How long does the EPDM roofing installation process explained take?
Yes, the timeline depends on the roof size, condition, and weather. A smaller roof may move faster, while a larger or damaged roof takes more time because prep matters so much. The EPDM roofing installation process explained is usually smoother when the surface is clean and ready before work begins.
Can EPDM roofing be installed in fall?
Yes, fall is often a good time for EPDM roofing work. Cooler weather can help create steadier working conditions than extreme heat or freezing temperatures. In Lincoln, NE, fall also gives property owners a chance to get ahead of harsher winter weather.
What makes EPDM a good roofing choice?
Yes, EPDM is a strong choice for many flat roofs because it is simple, flexible, and built for weather protection. It can hold up well when the system is installed correctly and the seams are sealed with care. That makes it a practical option for buildings that need dependable coverage.
Do seams matter in EPDM roofing?
Yes, seams matter a lot because they are one of the main places where leaks can start. If seams are not sealed properly, water can work its way into the roof system over time. Careful seam work is one of the most important parts of the installation process.
Wrapping Up The EPDM Roof Process
A good EPDM roof starts with careful prep, steady installation, and close attention to the parts that matter most. When each step is handled the right way, the roof is better prepared for changing weather and everyday use. That is why planning ahead in fall can make such a difference for property owners in Lincoln, NE.
If you are thinking about a roof update, the best move is to act before small issues grow into larger ones. Our team is here to help guide the work with skill and care, and you can follow us on social media for more updates from Shamrock Roofing.