• Step-by-step guidance on emergency roof tarping to secure and protect your home from further damage
• Essential tips and materials needed for effective and safe roof tarping
• Professional advice on when to call in experts for roof repair to ensure long-term safety and roof integrity
Understanding the Urgency of Roof Damage
When a storm hits Overland Park, the aftermath can often leave homes vulnerable to further damage. It’s crucial to identify warning signs early to protect your home. Sagging or drooping areas on your roof are telltale signs that intervention is needed promptly. These can indicate trapped moisture, which if left unaddressed, can lead to structural damage or mold growth.
Another critical indicator is the presence of light seeping into your attic. This is often a sign that your roof may have cracks or holes. Missing, broken, or damaged shingles are also clear signals that your roof’s integrity may be compromised. Pay attention to any granules from shingles accumulating in the gutter; this could suggest your roof is beginning to deteriorate.
Preparing for Immediate Action
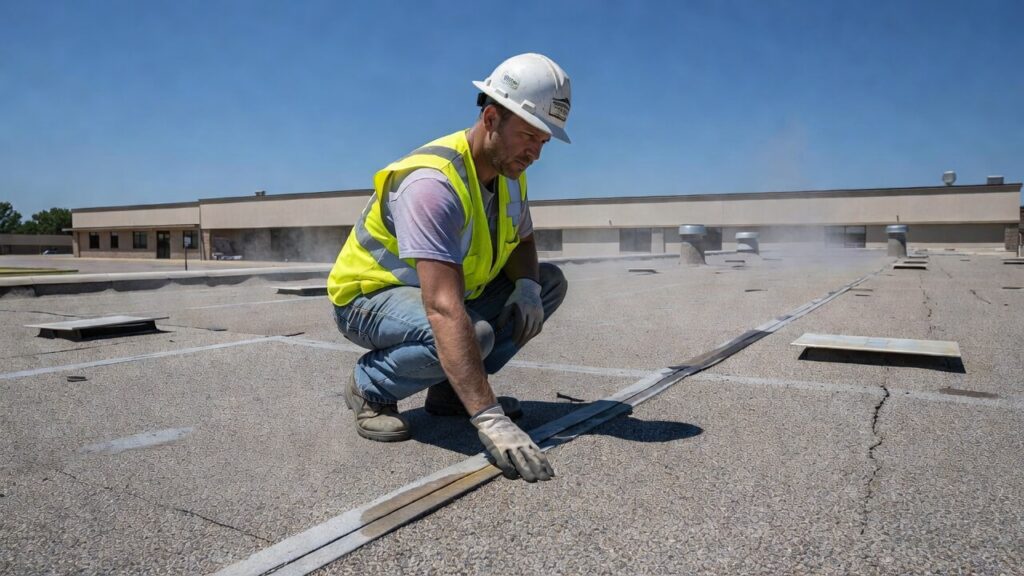
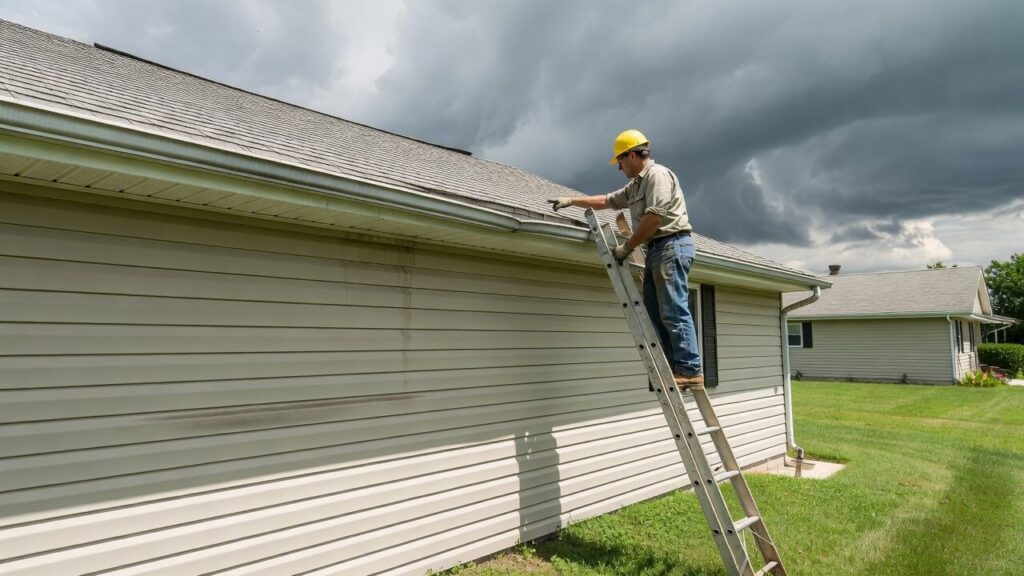
Before any repair work begins, it’s essential to assess the extent of the damage. An inspection will dictate the materials and strategies you’ll need to employ. When checking your roof, only do so under safe conditions and consider using binoculars as an alternative to climbing up. If a post-storm assessment reveals significant issues, such as multiple leaks or extensive shingle damage, emergency roof tarping might be your most effective temporary solution.
Taking these preliminary steps ensures that when securing your roof with a tarp, it’s done efficiently and effectively. Understanding these problematic signs is the first line of defense in safeguarding your home from the elements and preventing further damage while seeking professional repair services. Each sign is an important indicator calling you to action, and being proactive can make all the difference for the longevity and safety of your home.
Choosing the Appropriate Tools and Materials
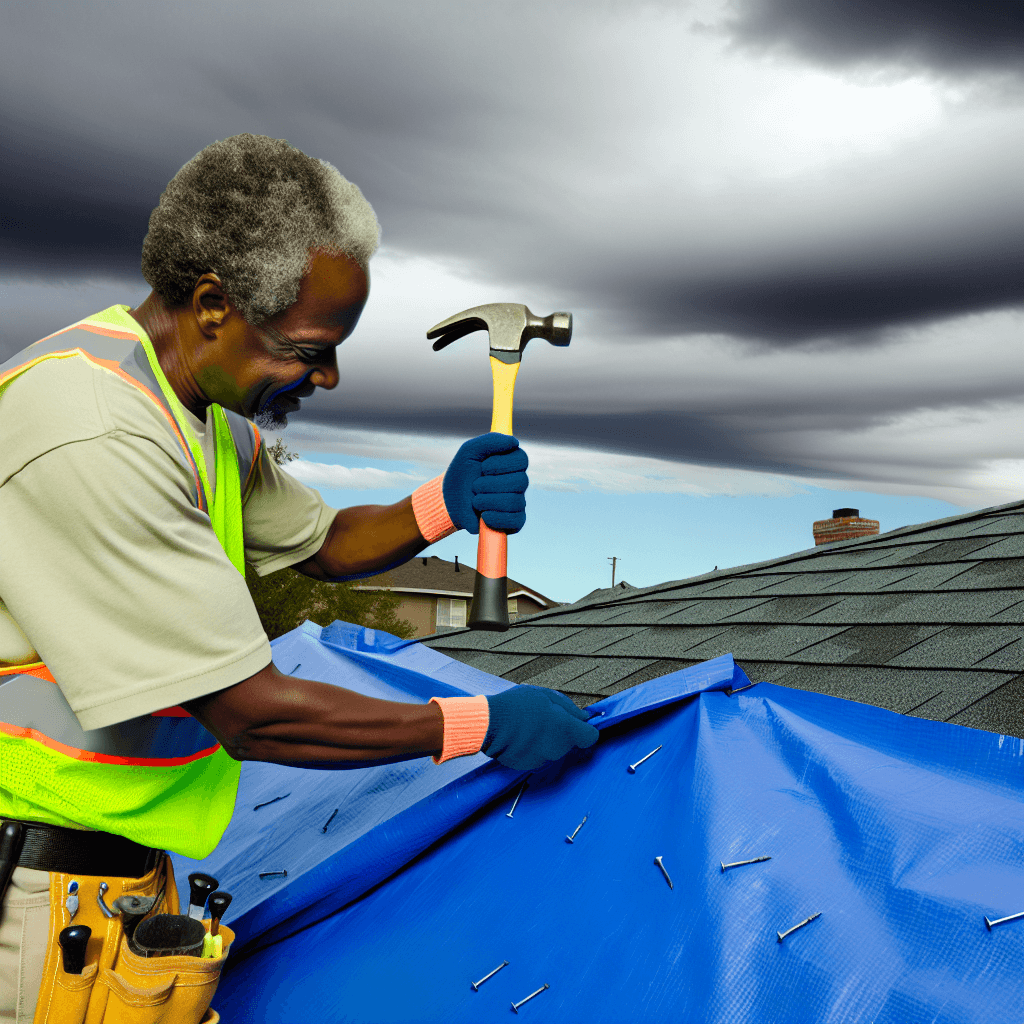
When faced with a roofing emergency, having the right tools and materials on hand can mean the difference between a quick fix and extensive damage. It’s imperative to have a heavy-duty tarp that’s large enough to cover and overlap the compromised area of your roof. A robust tarp is the centerpiece of emergency roof tarping basics, acting as a barrier against the elements until professional help arrives. Alongside the tarp, you’ll need a hammer, roofing nails, and sturdy wood strips that can withstand Overland Park’s variable wind speeds.
Securing Your Home’s Protection
Securing the tarp properly cannot be overstated; a well-anchored tarp can prevent water from entering and causing further damage to your home. Strips of wood serve not only to hold the tarp but also to spread out the force exerted by the nails, avoiding additional damage to your roof. Properly positioned and nailed down, these wood strips hold the tarp firmly even against strong winds. If you’re not confident in DIY tarp installation, Shamrock Roofing offers comprehensive services to ensure your home is shielded effectively, which you can explore further at Shamrock Roofer’s roof replacement page.
Utilizing these measured steps with precise and careful execution is second only to employing the keen eye and experienced hand of a roofing expert. These temporary measures will afford you the peace of mind while you arrange for a professional evaluation and proper repair of your roofing woes.
Step 1: Assess the Damage
Before you begin emergency roof tarping, it’s essential to assess the extent of the damage. If it’s safe, climb up to the roof to determine the size of the area that needs to be covered. Look for missing shingles, holes, or exposed roof decking.
Step 2: Choose the Right Tarp
Select a high-quality, thick polyethylene tarp that’s large enough to cover the damaged section of your roof. Make sure the tarp extends a few feet beyond the area of the damage to prevent leaks.
Step 3: Assemble Your Materials
Gather your materials. You will need a sturdy tarp, hammer, roofing nails, wood strips to secure the tarp’s edges, and a utility knife.
Step 4: Position the Tarp
Carefully place the tarp over the damaged area, ensuring it’s flat and fully covers the damaged spot. Extend the top edge of the tarp over the ridge of the roof to prevent water from seeping underneath.
Step 5: Attach Wood Strips
Use wood strips to attach the tarp to the roof. Lay them along the tarp’s edges and hammer them to the roof with the roofing nails. Ensure they’re secure to avoid the tarp being lifted by the wind.
Step 6: Seal the Edges
Using roofing cement or caulk, seal the edges of the tarp where the wood strips are nailed down. This will help create a waterproof barrier and prevent wind from getting under the tarp.
Step 7: Check for Pooling
Once the tarp is secure, monitor it for pooling water. If necessary, adjust the tarp to create a slope for proper water runoff.
Step 8: Contact a Professional Roofer
After installing the tarp, don’t forget to contact a roofing professional in Overland Park, KS. They will provide a thorough assessment and discuss permanent solutions to repair your roof.
Pitfalls to Avoid in Emergency Roof Tarping
Emergency tarping is a crucial skill for homeowners, but without due care, it’s easy to make mistakes that can compound the problem. It’s crucial to approach this task with attention to detail and an understanding of common errors. Awareness of these pitfalls not only ensures a safer tarping process but also prolongs your roof’s integrity until professional repairs are made.
Mistake 1: Underestimating the Damage
Rushing into tarping without a thorough assessment can lead to inadequate coverage. It’s imperative to climb up and inspect every corner of the roof, weather and safety permitting. Look for subtle signs of damage that may not be immediately obvious from the ground to ensure complete protection.
Mistake 2: Choosing an Improper Tarp Size or Material
A tarp too small lacks the necessary overlap, and a tarp too thin may easily tear. Select a durable, appropriately sized tarp that extends beyond the damage zone by several feet. This will help prevent leaks and withstand the elements until proper repairs are completed.
Mistake 3: Neglecting Proper Tarp Securing
Loosely attached tarps can lift or tear in strong winds, leaving your roof exposed. Use enough wood strips and roofing nails to securely anchor the tarp’s perimeter. The goal is a taut surface that won’t flap or balloon with the wind.
Mistake 4: Failing to Seal Edges Adequately
Neglecting to apply roofing cement or caulk can lead to water seepage and damage to your roof’s structure. Make sure to seal all edges where the tarp meets the roof to create a waterproof barrier. This helps maintain the tarp’s position and effectiveness.
Mistake 5: Overlooking Water Pooling
After the tarp installation, it’s vital to check for and address water pooling. Adjust the tarp to promote proper runoff, preventing water from accumulating and weighing down the tarp, which could cause further damage.
Mistake 6: Delaying Professional Consultation
Remember, tarping is a temporary solution. Prolonging the time to contact a professional can lead to exacerbated rooftop issues. Reach out to a trusted roofer in Overland Park, such as Shamrock Roofing, to schedule an evaluation as soon as possible.
By avoiding these common tarping errors, you can better protect your home from weather damage and ensure your roof remains as incident-free as possible until professional repairs can be undertaken.
Finishing Touches: Sealing and Inspection
Sealing the edges of your tarp is crucial; it not only prevents water ingress but also fortifies the tarp’s position against blustery conditions. Applying a generous amount of roofing cement or caulk along the edges where the wood strips are secures your emergency handiwork. It’s this level of attention to detail that ensures your home is temporarily safe from further environmental damage.
When to Call in the Professionals
After you’ve managed to secure the tarp, remember that this is a temporary measure—a stopgap until professional aid can be received. A thorough inspection and permanent repair by an expert roofer are indispensable to ensure the longevity and safety of your roof. For residents in Overland Park, reaching out to the professionals at Shamrock Roofing means enlisting a team that prioritizes quality and durability in roof repair and replacement.