• Learn the fundamentals of EPDM puncture repair to protect your roofing investment effectively.
• Discover the essential tools and materials needed for a successful EPDM patch, ensuring durability and longevity.
• Find out why professional expertise is crucial for complex repairs, enhancing roof safety and performance.
The Goal: Mastering EPDM Puncture Repair
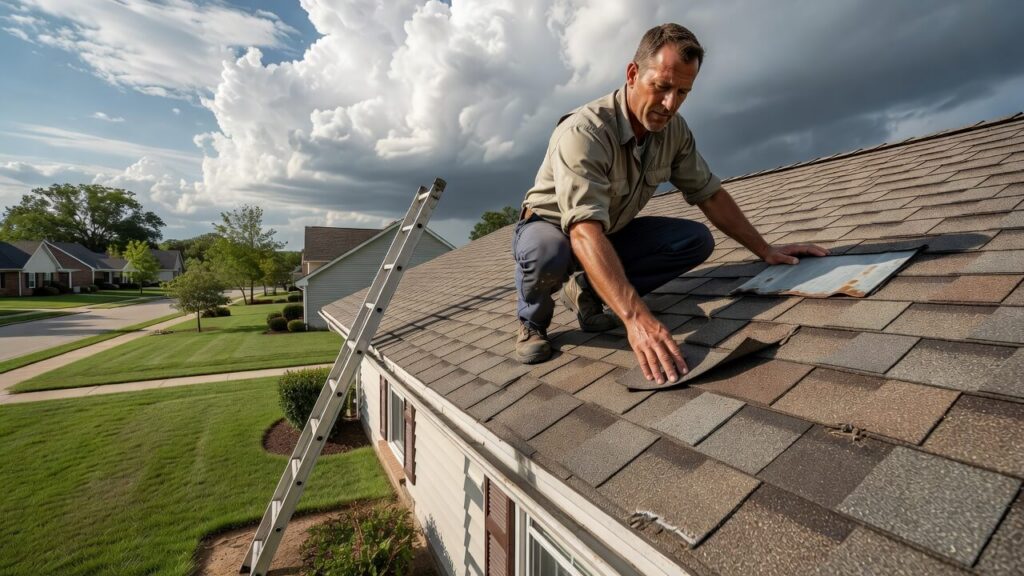
For homeowners and businesses alike, maintaining the integrity of your EPDM roofing is critical, especially with the tumultuous weather that spring in Liberty, MO can bring. **Understanding the basics of EPDM puncture repair** is the first line of defense against water damage and costly repairs down the road.
A well-executed repair can extend the life of your roof significantly, making your investment worthwhile. It ensures the safety and comfort of those beneath it, safeguarding your property from the elements.
Armed with the right knowledge and techniques, anyone can tackle common roofing issues with confidence. The goal of this guide is to empower you with the **EPDM puncture repair basics** necessary to maintain your roofing system effectively and efficiently.
EPDM Puncture Repair: The Essential Steps
Achieving mastery in EPDM puncture repair involves a systematic approach. This checklist will guide you step by step to ensure a secure, weatherproof roof over your head.
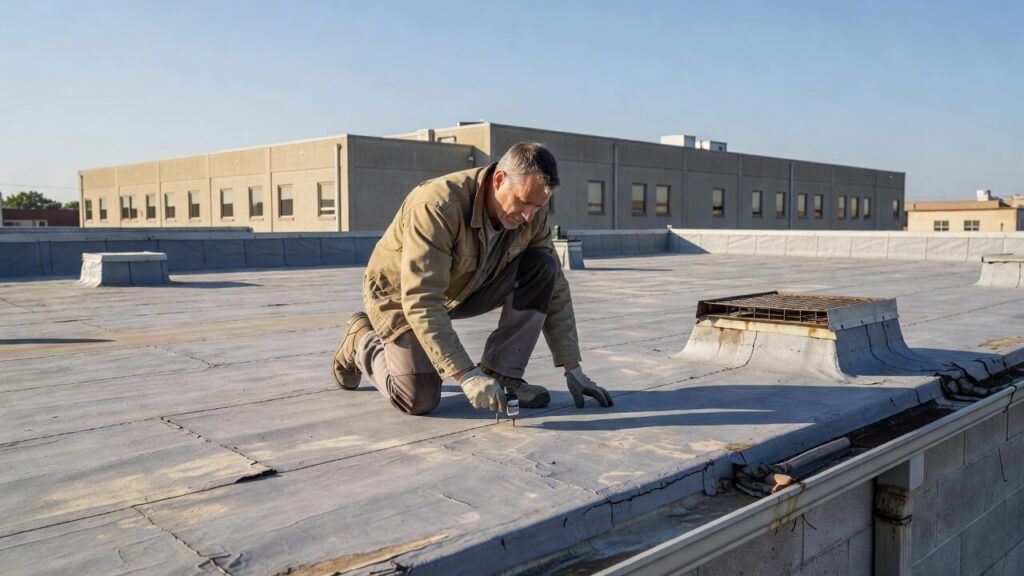
- ✅ Identify Problem Areas – Conduct a thorough inspection of your EPDM roof to locate any punctures, tears, or areas of concern.
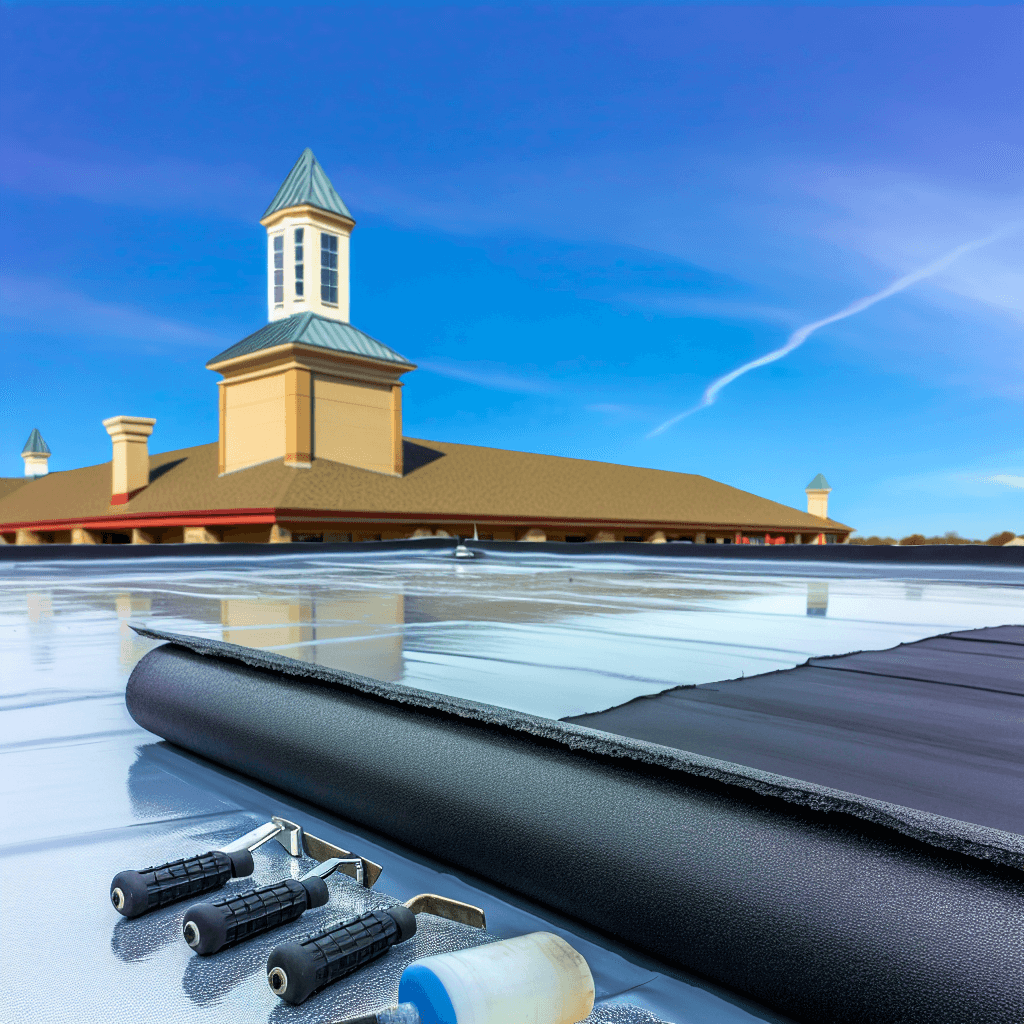
- ✅ Gather Your Materials – Assemble all necessary tools and materials, such as EPDM primer, seam roller, and patching material.
- ✅ Clean the Surface – Ensure the damaged area is clean and free of debris or contaminants for optimal adhesion.
- ✅ Apply Primer – Use EPDM primer specifically designed for roofing repairs to prime the surface around the puncture.
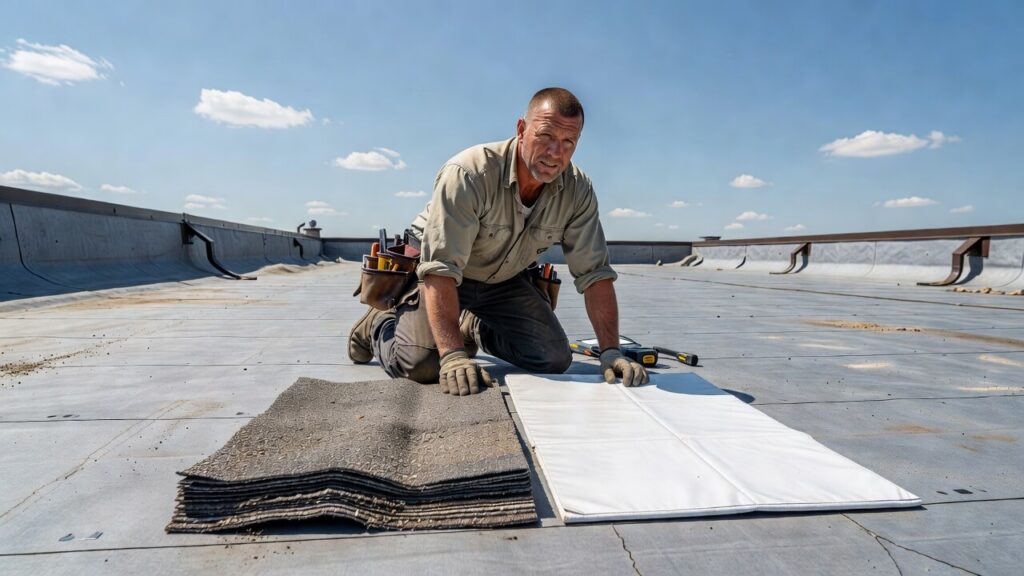
- ✅ Install the Patch – Carefully apply an EPDM patch over the primed area, pressing firmly to remove air bubbles and secure the bond.
- ✅ Seal and Protect – Roll the patch with a seam roller to ensure a tight seal and check the edges for any lift-off.
- ✅ Regular Maintenance Checks – Schedule routine inspections and cleanings to extend the life of your repair and prevent future damage.
Each step is integral to achieving professional-level results in EPDM puncture repair. By following this checklist, you can rest assured that minor damages won’t escalate into major issues, saving you time and resources in the long term.
Additional Advice
When undertaking EPDM puncture repair, it’s important to not only follow the steps outlined in our checklist but also to understand the nuances of the materials and techniques involved. One common mistake is to rush the cleaning process; ensuring a thoroughly clean surface isn’t just a formality—it significantly enhances the adhesion of the repair patch. Consider using a putty knife or brush to remove any stubborn debris or existing caulk. Additionally, applying the EPDM primer generously allows the patch to bond more effectively, so don’t hesitate to give it an ample coating without over-saturating the area. Remember, patience during this phase will lead to a stronger, longer-lasting seal that stands up to weather conditions.
Moreover, don’t underestimate the importance of regular maintenance checks after your repair. Schedule inspections at least twice a year—preferably in the spring and fall—when weather conditions are more stable. This proactive approach allows you to detect any new signs of wear or damage early, preventing minor issues from turning into costly repairs down the line. As a best practice, keep a record of your observations and repairs. This history can be invaluable, especially if you decide to sell your property or if future repairs are needed. By integrating these additional strategies, you’re not only improving your current repair but also safeguarding your investment and ensuring the longevity of your EPDM roof.
Sealing the Deal: Your Path to a Durable Roof
Mastering the EPDM puncture repair basics equips you with the knowledge to proactively address minor issues before they escalate. By adhering to the steps provided, you ensure not only a swift repair but also the longevity of your roof—making it resilient against Liberty’s dynamic spring weather. Regular maintenance and prompt repair are the cornerstones of keeping your EPDM roofing system robust and reliable.
While some may feel confident in tackling minor repairs, it’s essential to recognize when a professional touch is necessary. For comprehensive roofing solutions, including repairs and replacements, consider consulting the experts at Shamrock Roofing. With a commitment to quality and customer satisfaction, a professional service guarantees that your roof remains in impeccable condition year-round.