• Understand the storm damage restoration process explained step by step, from the first safety check to the final roof inspection, so you can act quickly after a storm.
• Learn the most common signs of roof damage in Denver summer storms, including missing shingles, leaks, dents, and hidden issues that can get worse fast.
• Avoid costly mistakes by knowing what to inspect, what to document, and when to bring in a roofing professional to protect your home.
Storm Damage Restoration Process Explained
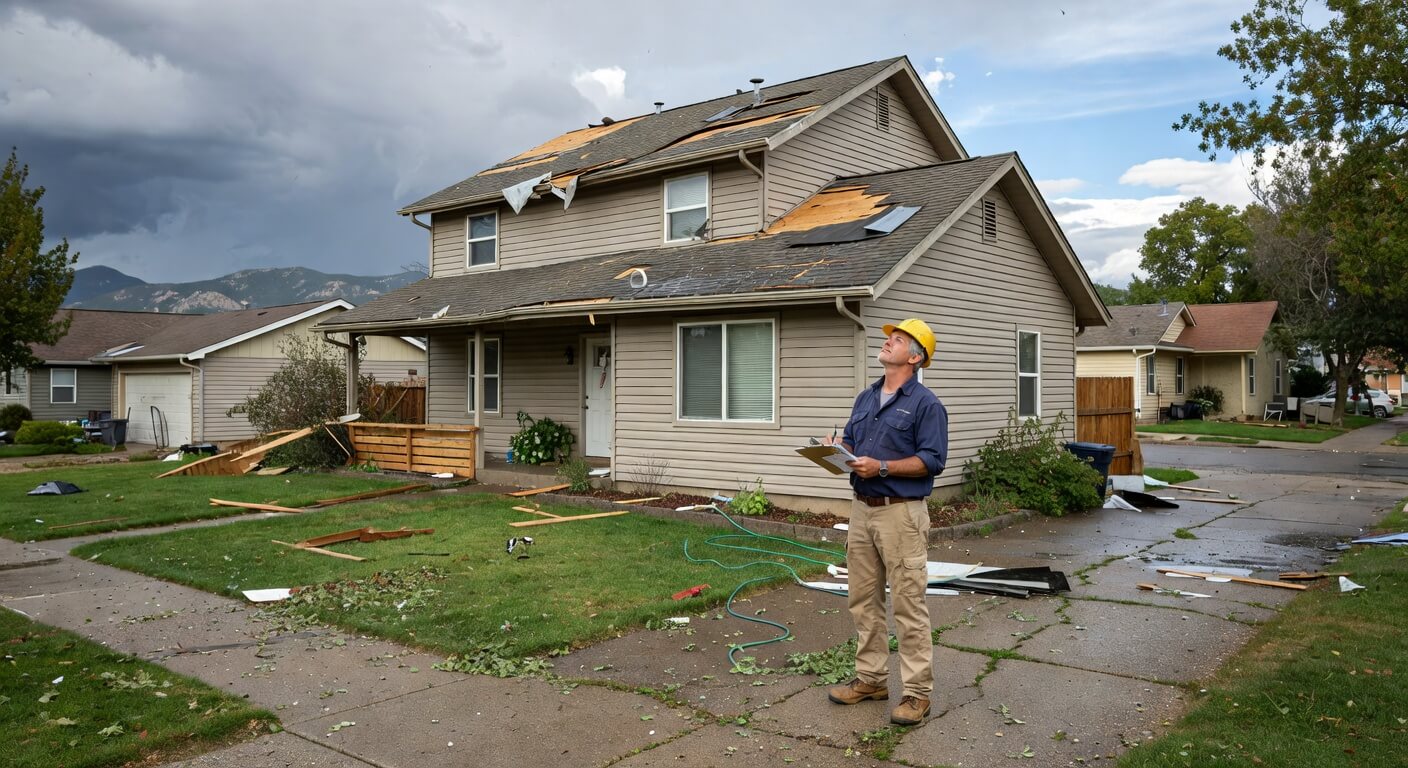
When a storm hits Denver in the summer, roof problems can show up fast and leave a home exposed. Missing shingles, dents, and leaks may seem small at first, but they can turn into bigger issues in a short time. That is why acting quickly matters, especially when you need a clear plan for storm damage restoration process explained. At Shamrock Roofing, we know the sooner you start, the easier it is to protect your home and limit further damage.
Storm damage is not always easy to spot from the ground, and many homeowners do not notice the full problem right away. Wind and hail can weaken roofing parts that still look okay on the surface. If those issues stay in place, water can slip in during the next rain and spread into the deck, attic, or walls. A quick inspection after the storm can save time, stress, and repair costs later.
Summer weather in Denver can bring strong storms, sudden hail, and heavy rain in a short window. That makes fast action important for both safety and property protection. We often remind homeowners that roof problems do not wait for a better time, and damaged materials can keep breaking down after the storm passes. If you already see signs of trouble, it helps to look at your next steps now and understand the full process before the damage spreads.
How Storm Damage Repair Works
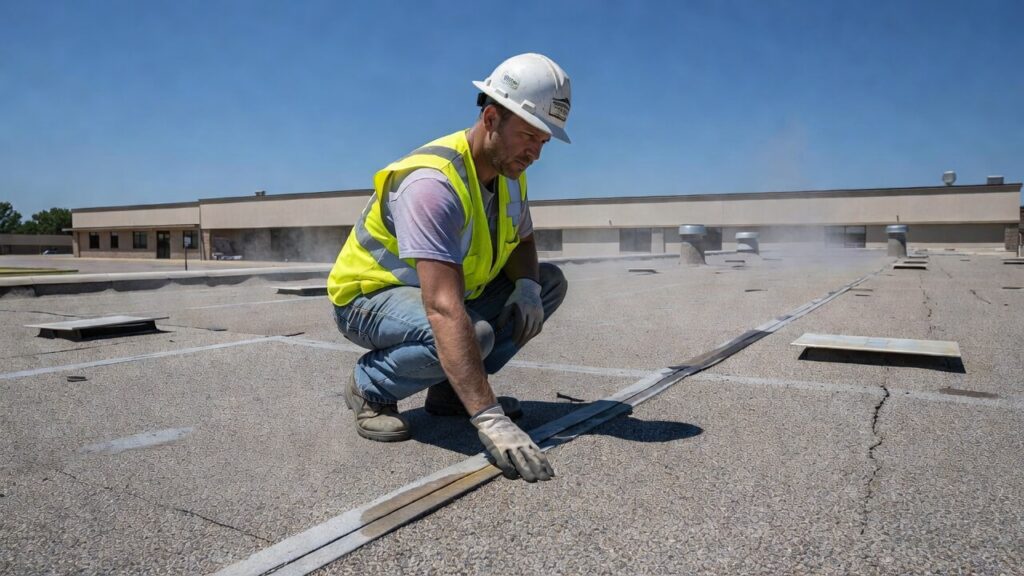
The first part of storm recovery is a careful inspection that looks for visible and hidden damage. This includes checking shingles, flashing, gutters, vents, and other areas where wind or hail may have caused wear. We also look for signs of water entry because even a small opening can lead to larger roof and interior problems. For more help with service options, you can visit our roof replacement services.
After the inspection, the next step is to document the damage and plan the repair path. That usually means noting problem areas, taking photos, and deciding whether repair or replacement is the better option. In many cases, the storm damage restoration process explained begins with stopping active leaks first, then restoring the roof structure and surface materials. Once the main damage is handled, the property can be secured and brought back to normal with less risk of repeat issues.
Step-by-Step Storm Damage Process
🔍 Step 1: Check for Safety Risks
Look for downed lines, broken glass, loose debris, and unstable roof areas before doing anything else. Safety comes first because storm damage can create hidden hazards around the home and yard.
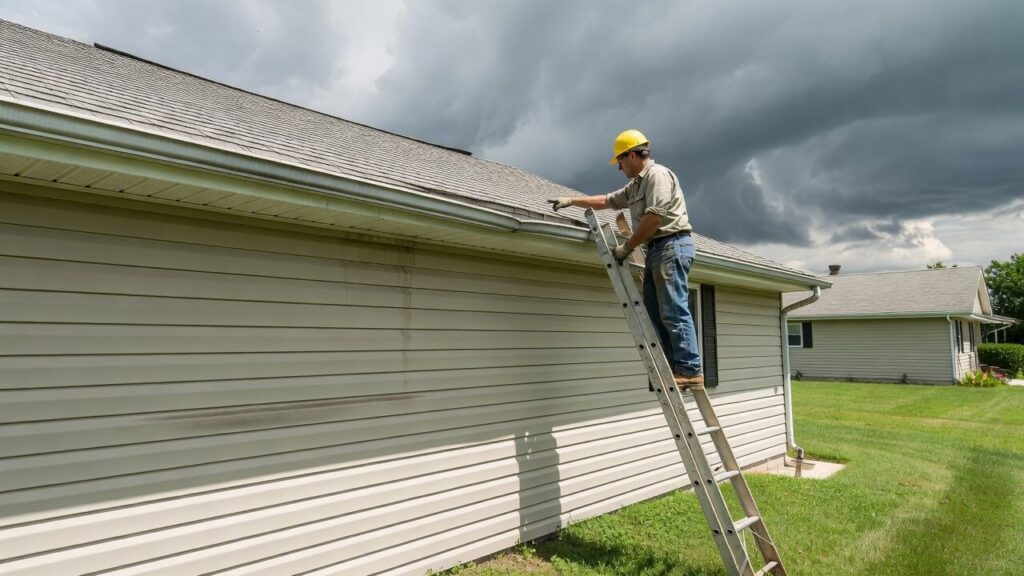
📸 Step 2: Inspect the Roof and Exterior
Carefully check the roof, gutters, siding, and vents for missing, bent, cracked, or dented materials. This step helps you catch damage early and gives you a better picture of what the storm affected.
📝 Step 3: Document the Damage
Take clear photos and notes of every problem area you can see from the ground or a safe location. Good records help explain the damage clearly and make the next steps easier to manage.
📞 Step 4: Contact a Roofing Professional
Schedule a qualified inspection so the damage can be reviewed in detail. A trained eye can find issues that are easy to miss, including lifted shingles and hidden leak points.
🛠️ Step 5: Stop Active Leaks
If water is getting inside, the damaged area should be protected right away. This can help limit further harm to insulation, drywall, and other parts of the home.
📋 Step 6: Review the Repair Plan
Go over the repair or replacement plan so you understand what needs to be done and why. This keeps the process clear and helps you make informed decisions about the roof.
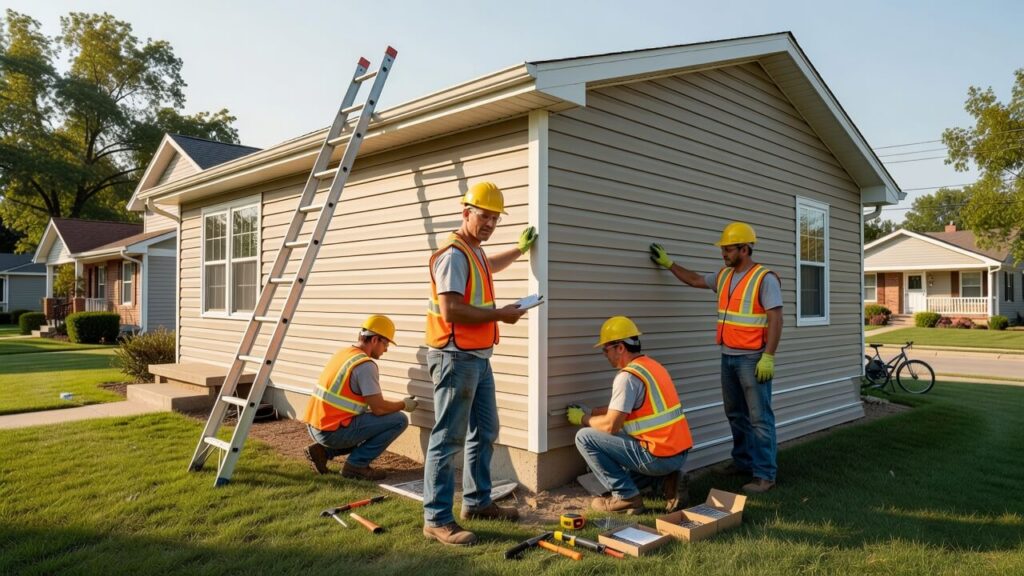
✅ Step 7: Complete the Repairs
Have the damaged materials repaired or replaced based on the inspection results. Proper repairs help restore the roof’s ability to protect the home during the next storm.
🌤️ Step 8: Finish with a Final Check
After the work is done, inspect the roof again to make sure everything is secure and sealed. A final check helps confirm the home is ready for changing weather and future summer storms.
Common DIY Mistakes to Avoid
Many homeowners want to handle storm damage on their own, especially when the problem seems small at first. The trouble is that roof damage is often wider than it looks from the ground. These mistakes can lead to missed issues, repeat leaks, and bigger repair needs later.
- ⚠️ Mistake 1: Skipping a Full Inspection Many people only look at the easiest-to-see spots and miss damage in other areas. This happens because roof problems can be hard to spot, especially after hail or wind. Prevent this by checking all visible roof sections, gutters, flashing, and siding from a safe place.
- ⚠️ Mistake 2: Ignoring Small Signs of Damage A few missing shingles or a small dent may not seem serious, but they often point to larger trouble. This mistake happens when homeowners assume the roof is fine because there is no active leak yet. Prevent it by treating every visible change as a sign to inspect further.
- ⚠️ Mistake 3: Waiting Too Long to Act Delays can let water seep deeper into the roof system and home interior. People often wait because they hope the damage is minor or the weather will clear up. Prevent this by starting the storm damage restoration process explained as soon as it is safe to do so.
- ⚠️ Mistake 4: Using the Wrong Temporary Fixes Some homeowners try quick patches that do not seal properly or address the real damage. This usually happens when someone wants a fast solution without understanding how the roof system works. Prevent it by using only safe, short-term protection until proper repairs can be made.
- ⚠️ Mistake 5: Forgetting Hidden Damage Not all storm damage is visible from the outside, and leaks can start in places that are easy to overlook. This mistake happens when the focus stays only on surface-level issues. Prevent it by having the full roof and connected areas checked so nothing gets missed.
Frequently Asked Questions
What is the first step after storm damage to a roof?
Yes, the first step is to check for safety issues and then inspect the roof for visible damage. This helps you understand whether there are missing shingles, dented parts, or signs of a leak before the problem gets worse.
How do I know if my roof has storm damage?
Yes, signs of storm damage can include missing shingles, dents in soft metal parts, granule loss, and water stains inside the home. If you notice any of these, you should arrange a professional inspection as soon as possible.
How long does storm damage roof repair usually take?
Yes, the timing depends on how much damage the roof has and what materials are needed. Small repairs may take a short time, while larger repairs or replacement work can take longer based on weather and material availability.
Can minor storm damage get worse over time?
Yes, minor damage can get worse quickly if water enters the roof system. Even small openings can lead to larger problems with decking, insulation, and interior surfaces if they are not handled early.
Why is the storm damage restoration process explained before repairs begin?
Yes, understanding the process helps homeowners make better decisions and avoid missing key steps. It also makes it easier to see why inspection, documentation, repair planning, and final checks all matter in protecting the home.
Final Thoughts on Roof Recovery
Storm damage can move fast, especially during Denver’s summer weather, so clear action matters. When you understand each step, it becomes easier to protect your home and avoid costly delays. A careful approach can make the repair process smoother and help you feel more prepared.
We take storm-related roof problems seriously because small issues often lead to bigger ones if they are left alone. If you want to stay informed and keep up with our work, feel free to follow us on Facebook.